Poppy Paint Beginner’s Tutorial
PREPARING YOUR WORK AREA

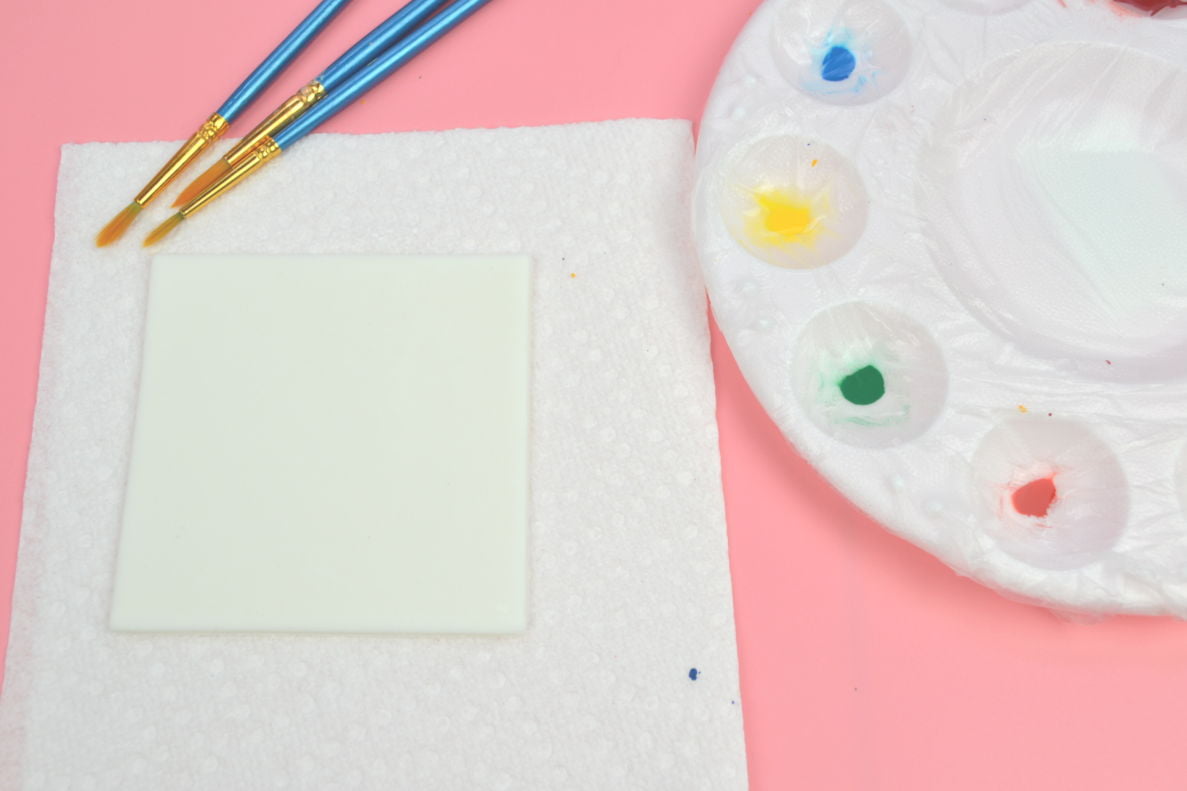
Components
Basics
- Poppy Paint
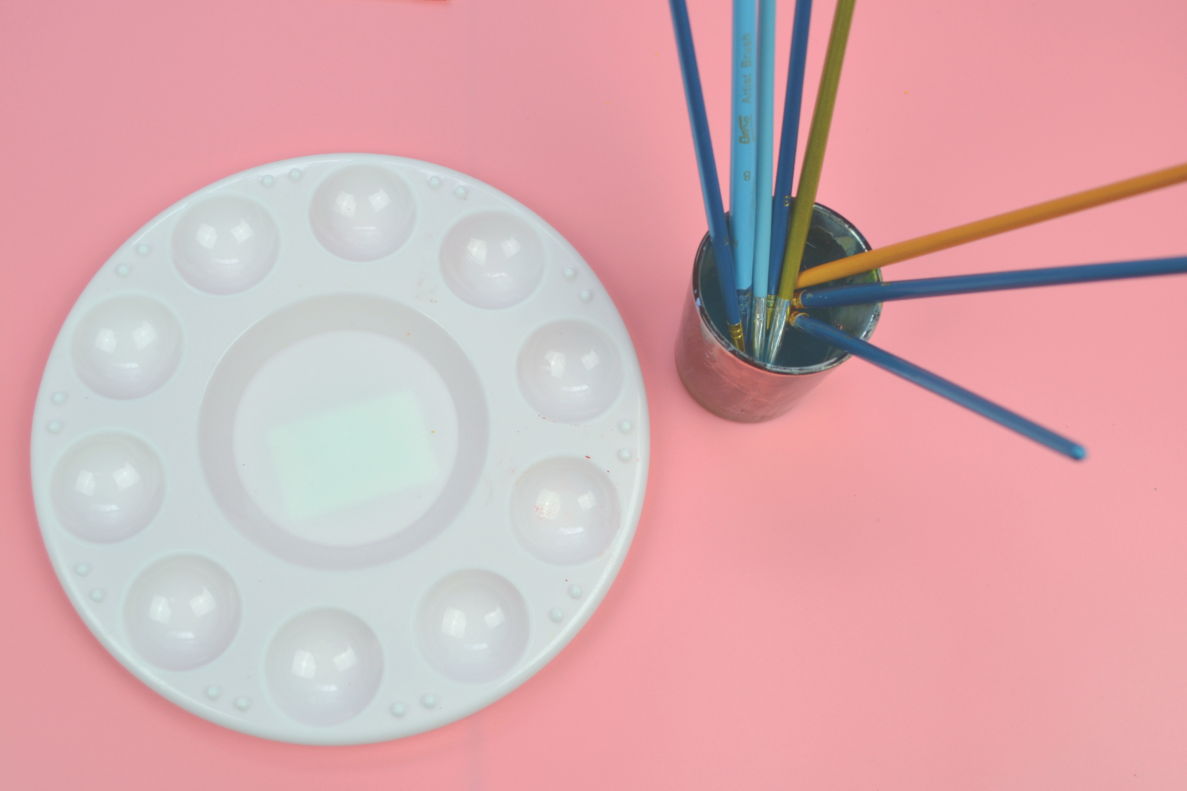
- Paint Pallete
- Cling Wrap
- High Proof Alcohol – See Below
- Shot Glass or Similar Size Cup
- Paper Towels
ASSORTED TOOLS
- Paint brushes (assorted)
- Paint daubers
- Small ball-tip tool
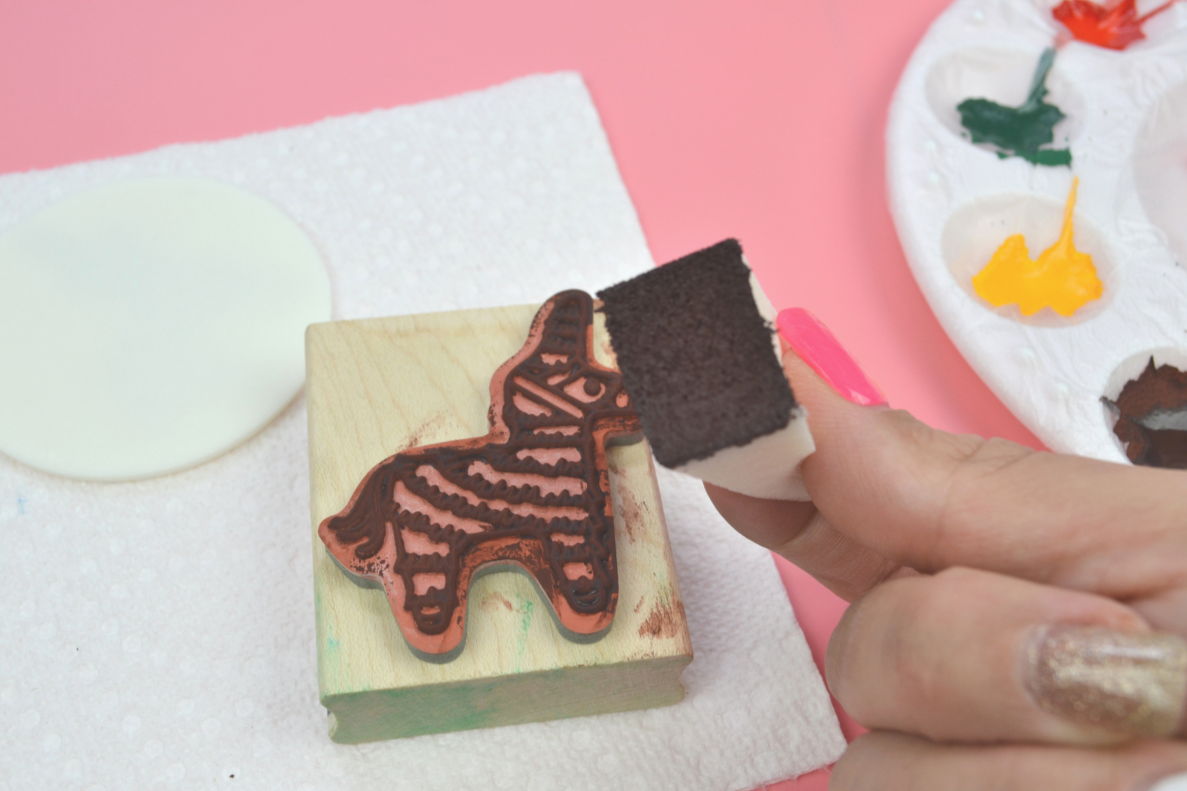
- Stamps
- Make up sponge
Press the plastic wrap down into each reservoir, then wrap the overhanging plastic around the edges and under the bottom.


Fill a shot glass with approximately ¾ inch of high proof alcohol. We generally use 91% isopropyl since it is more cost efficient, but other options are 180+ proof grain alcohol (Everclear) and lemon extract. The latter two options are better since they are food safe, but they are quite a bit more expensive. Isopropyl works very well, but you’ll have an extra step of cleaning the isopropyl out of your brushes before each use. We’ll be resting our paint brushes in this alcohol for cleaning and to ensure they don’t dry out. Be careful not to overfill the glass – if your paint brush handles are submerged in the alcohol, they may become damaged. We only want the bristles and metal tip in the alcohol.
Set up your workspace with any tools you plan on using. We’ll be using a fine tip brush, a flat tip brush, a pointed round tip brush, circle paint daubers, a small ball-tip tool, and a stamp. We’ll also be using a small makeup sponge to apply the paint to the stamp.
Find a smooth, non-porous surface to work on. I generally use Poppy Paint on top of a silicone mat. Spills are much easier to clean on surfaces like this. Additionally, always have paper towels handy. I generally place whatever I am painting on top of a paper towel, to catch any paint mess that gets brushed over the edge.
(TIP: When looking for brushes, select those used for acrylic painting. Most brushes can be found at any arts and crafts store.)


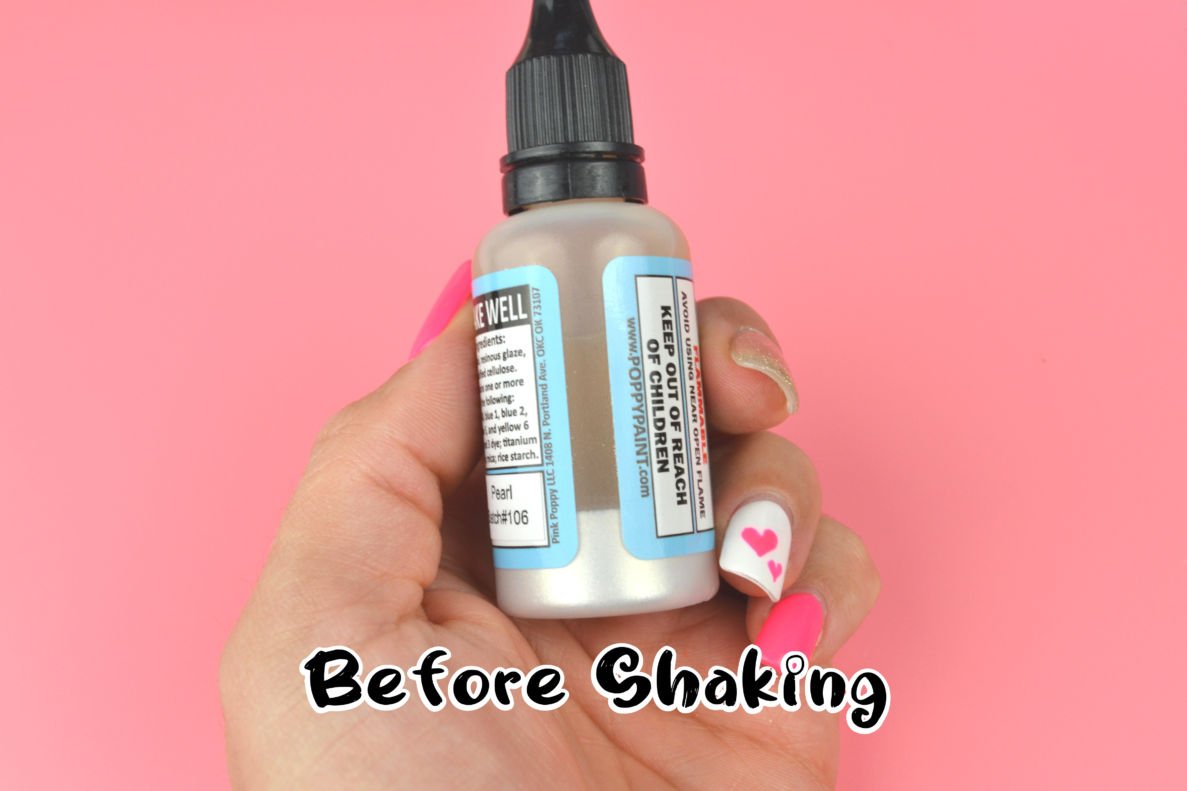
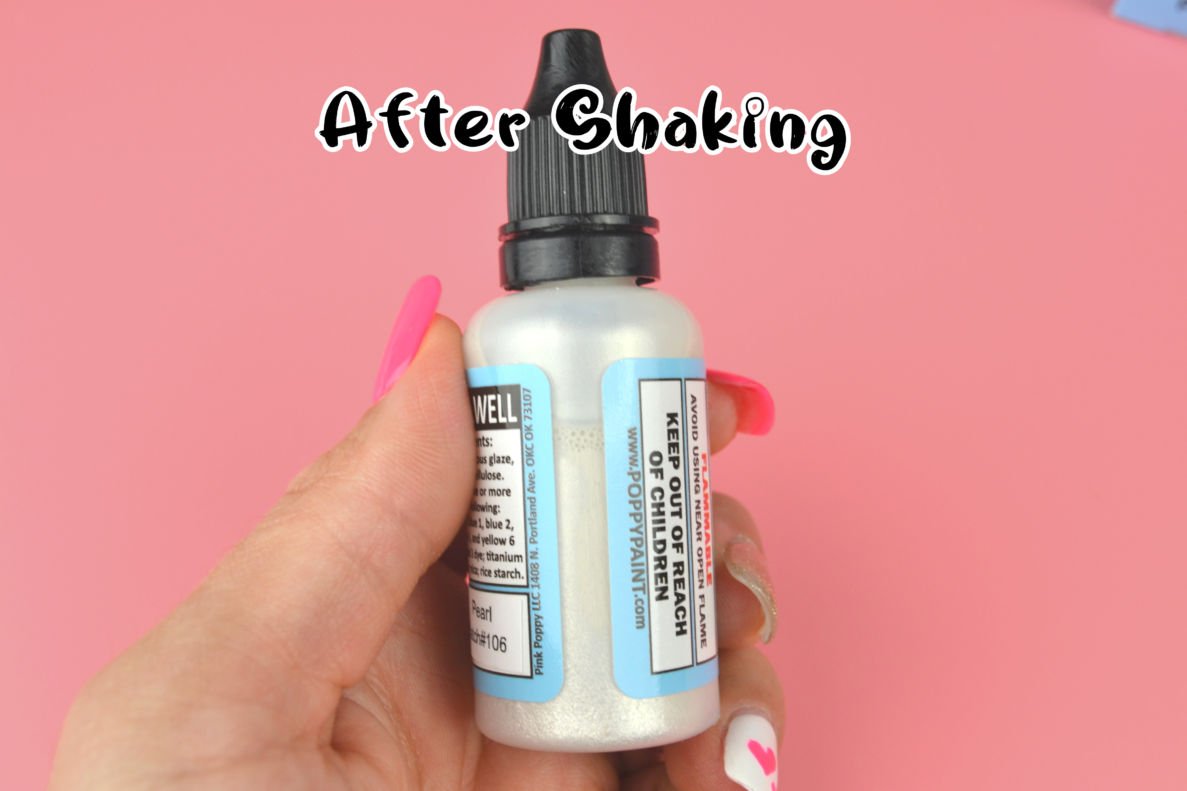
Preparing Your Paint
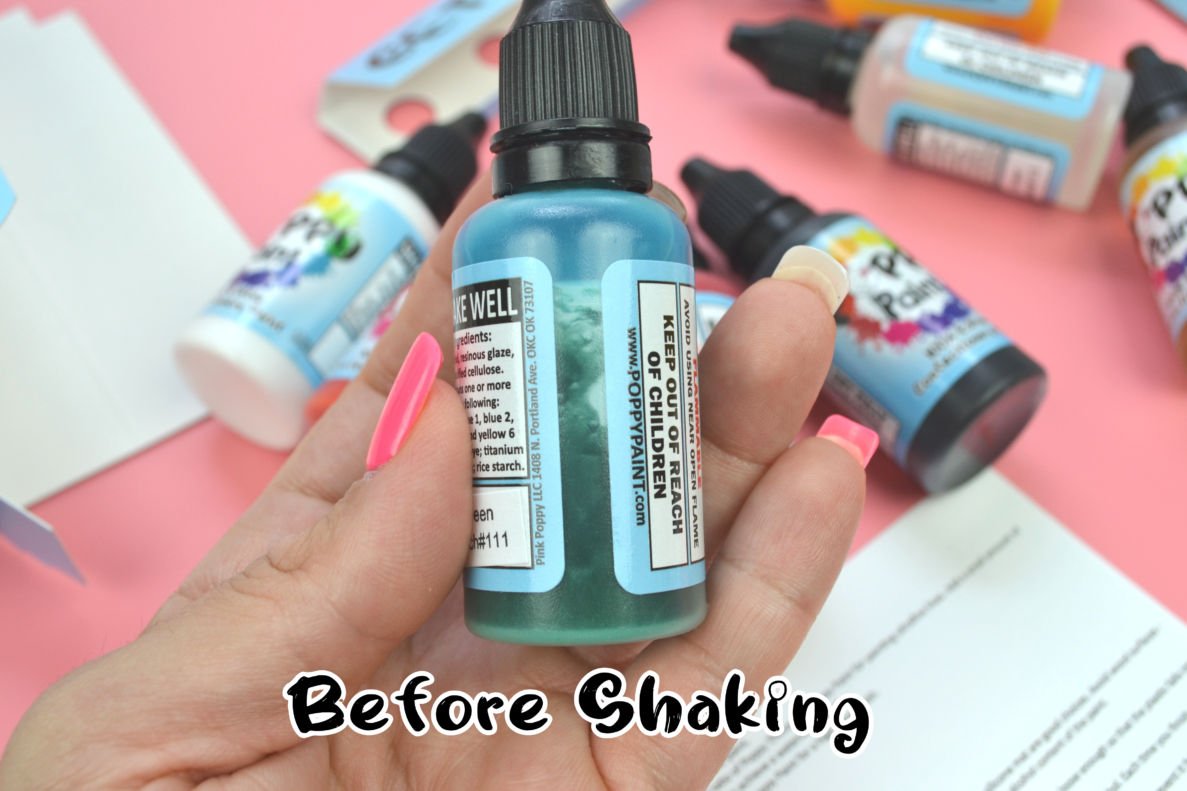
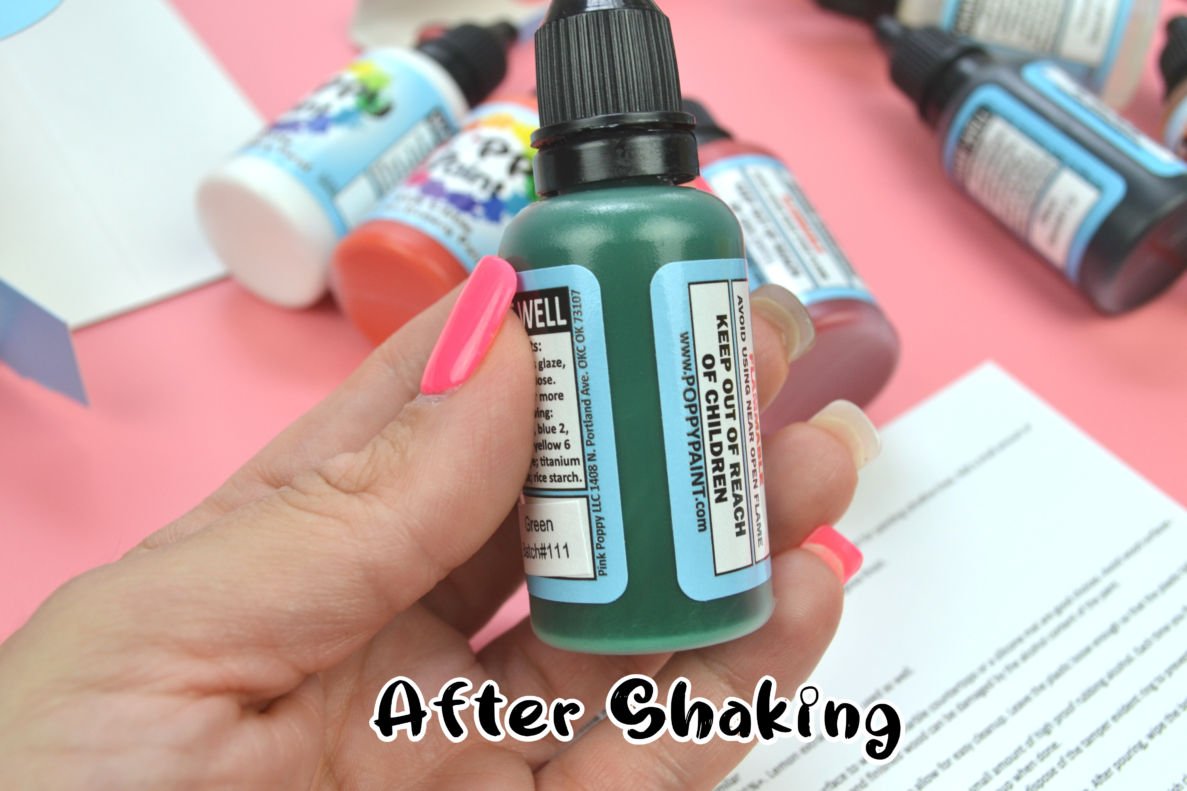
(TIP: If your paint has set for a very long time, there may be some sediment that doesn’t want to come loose from the bottom of the bottle. If this happens, gently squeezing the bottom of the bottle can help to loosen the sediment before shaking.)
Wipe the paint off your bottle tip before replacing the lid so that the lid doesn’t stick when the paint dries.


PAINTING WITH VARIOUS TOOLS
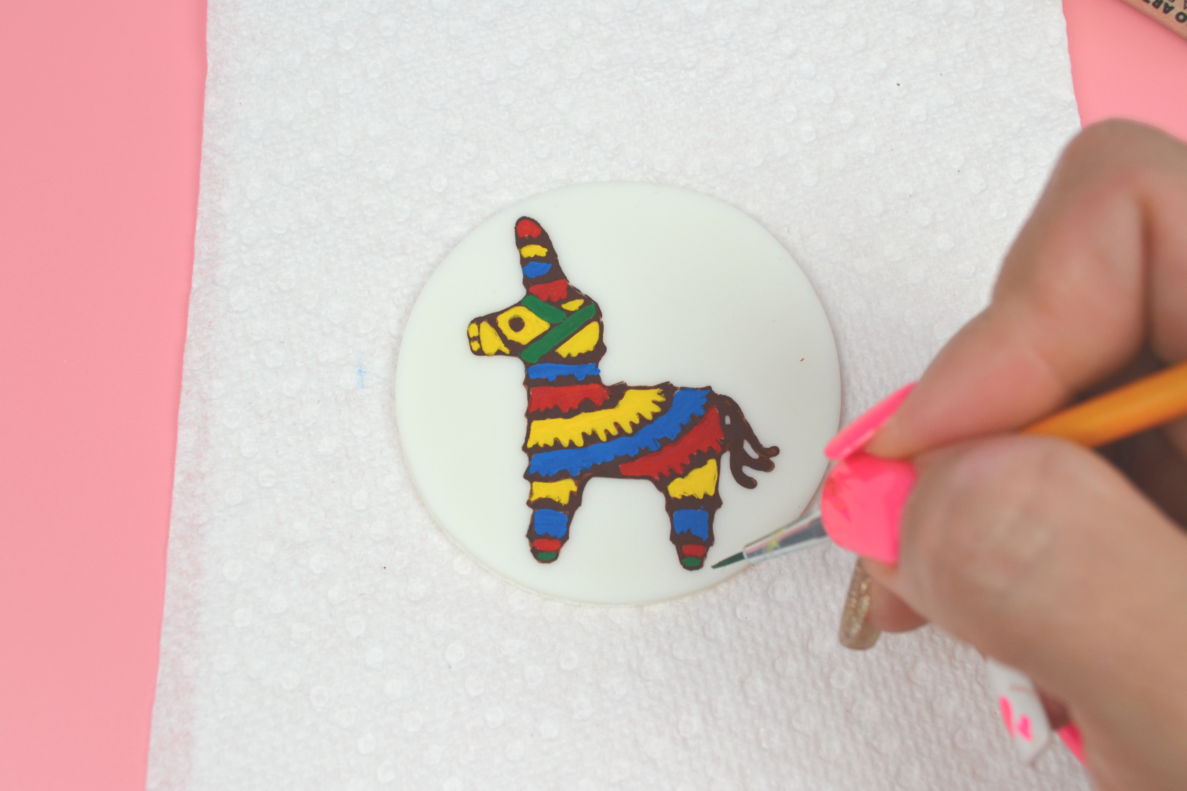
(TIP: When painting with Poppy Paint, less is more. Start with a small amount of paint on your brush, and if you find it isn’t enough then work your way up from there.)
Whenever you finish using a brush, place it tip-down in the glass of alcohol. Use this alcohol and a paper towel to clean your brush between uses. If using isopropyl, be sure to clean your brush thoroughly with soap and water before each use. You’ll want all traces of the rubbing alcohol gone from your brush, as that type of alcohol is not food safe.


If painting in multiple coats, let the first coat dry before applying the next. You can tell the paint is dry when it appears matte.


Note: The orange dots are made with a small dauber in the same way as the red dots from the previous step.


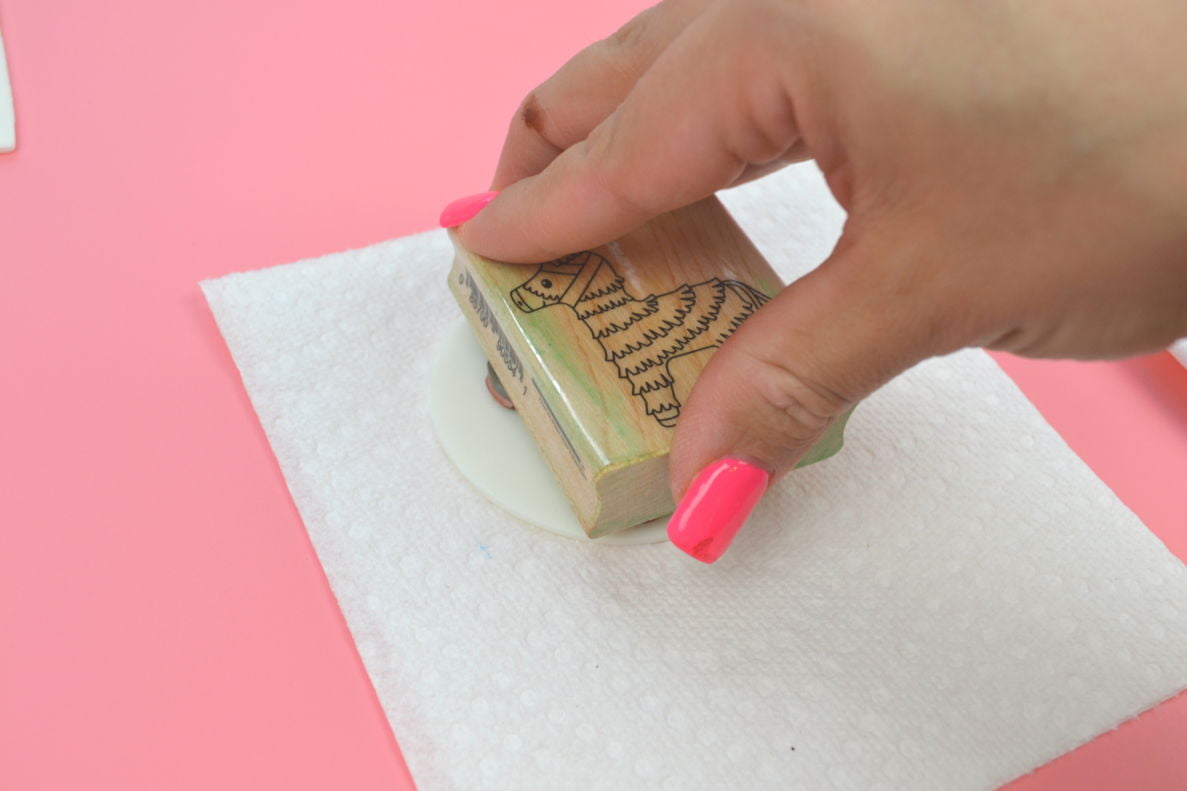
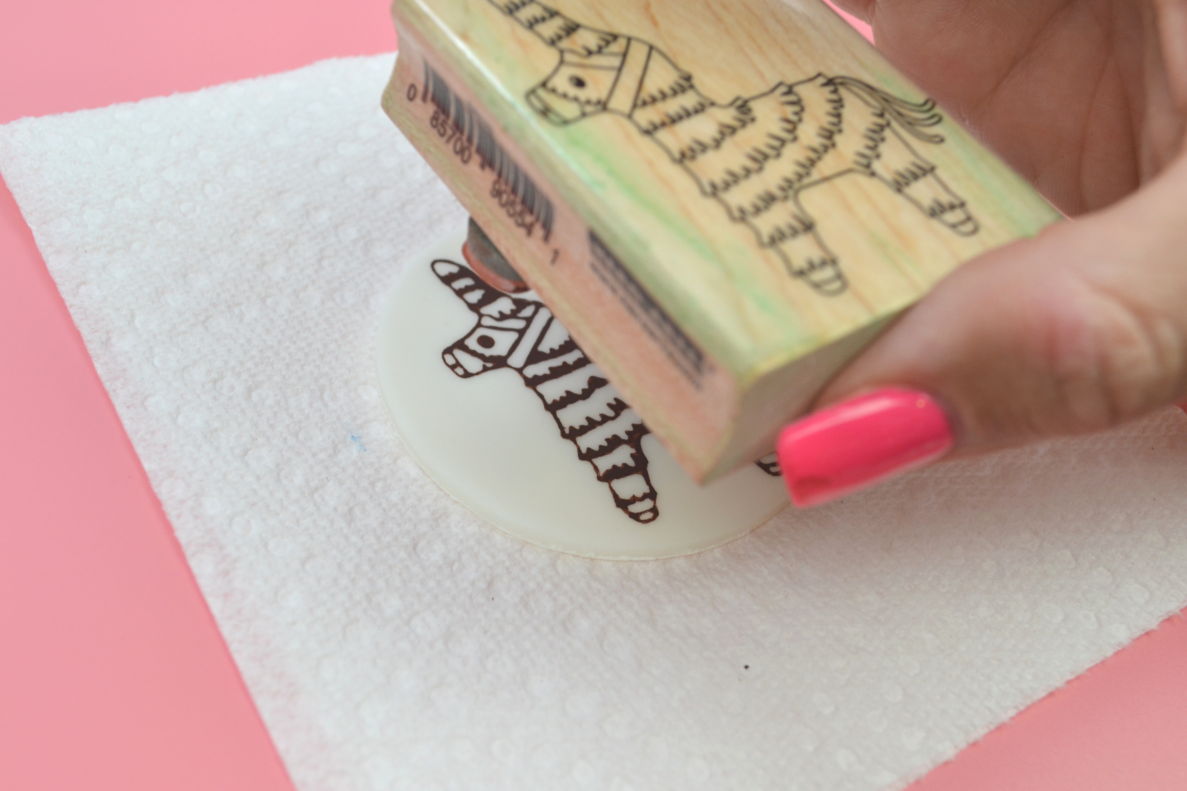
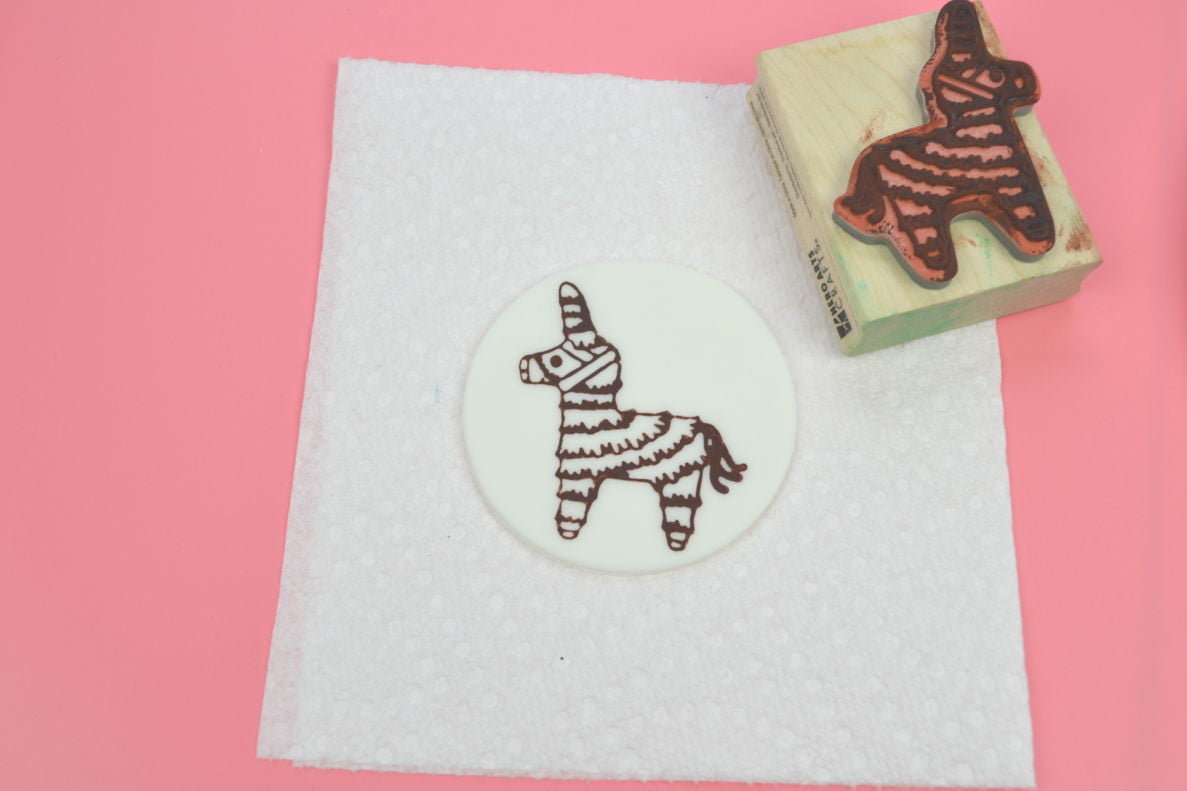
Stamping
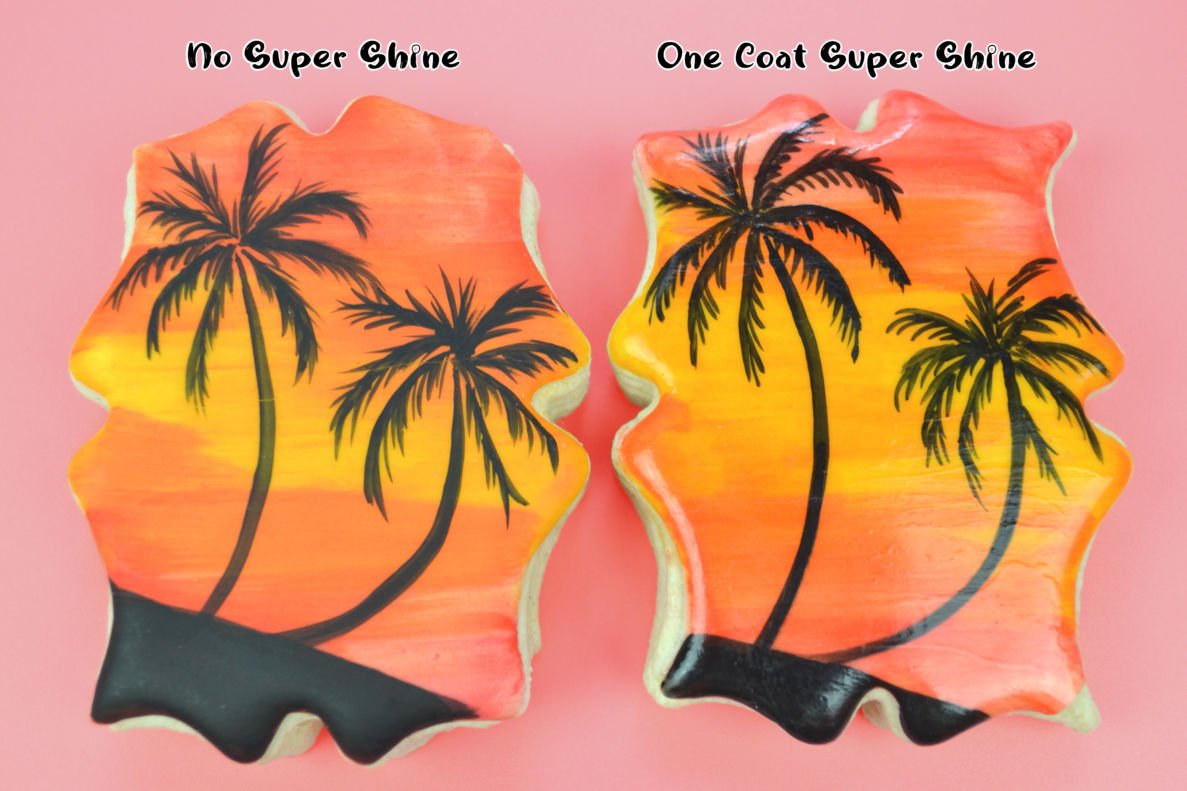
USING SUPER SHINE
When painting Super Shine over Poppy Paint, be sure to use light brush strokes and do not brush over the same area more than once until the first coat is completely dry. Super Shine will rehydrate the Poppy Paint, and if you brush over an area multiple times you will smear your previously painted designs. Once the first layer of Super Shine dries, you may add a second layer if an even glossier finish is desired.
Super shine takes much longer to dry than Poppy Paint – between 5-10 minutes. This will depend on the local temperature and humidity, and the thickness of application.
WATERCOLOR
USING POPPY PAINT PEARLESCENTS
I like to store my pearlescent paints horizontally so that the color settles on the side of the bottle, making it much easier to shake up.
I like to store my pearlescent paints horizontally so that the color settles on the side of the bottle, making it much easier to shake up.


CLEAN UP