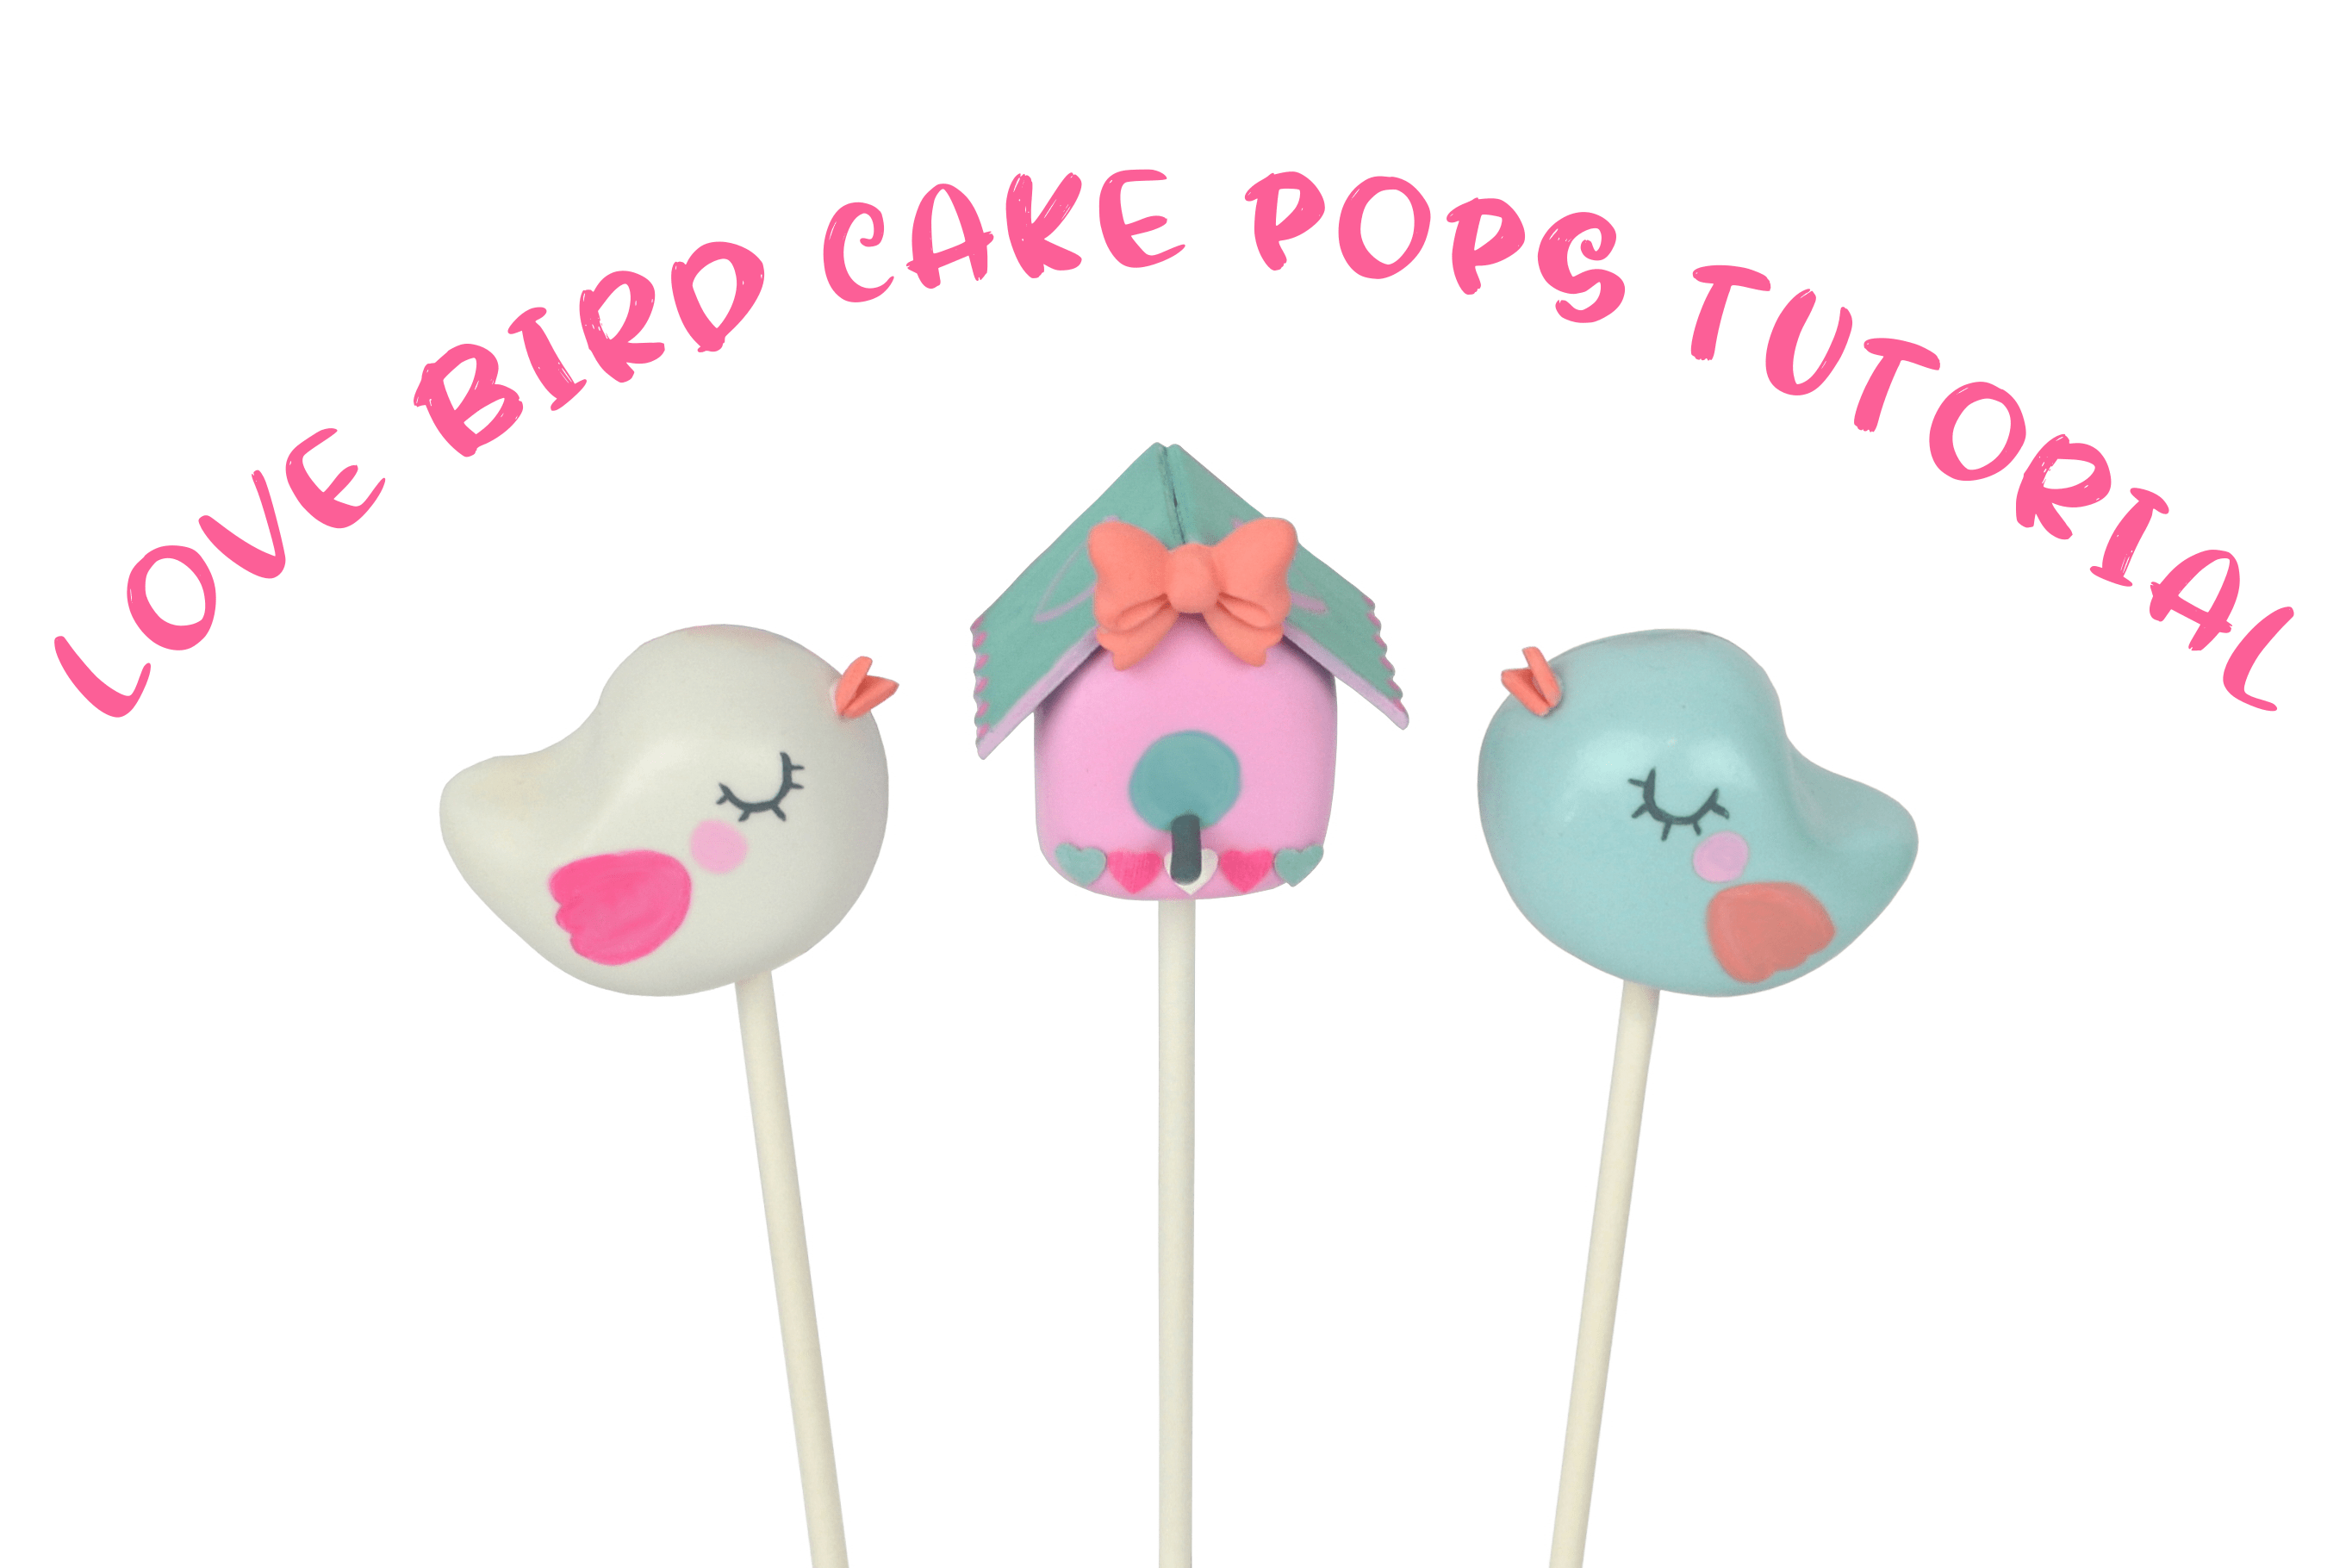
Love Bird Cake Pops Tutorial
COMPONENTS
Small scale
Cake pop sticks
2 fondant smoothers
Candy melts
Candy dye colors (oil based dye)
Scribe and/or toothpicks
Bow mold
Cornstarch
Fondant
Gumpaste
Cutting mat
Penblades or sharp knife
Small ball-tip tool
Small square punch
Small heart punches
Heart hole punch (for paper)
Wafer paper
Fine tip brush
Wide flat tip brush
Scalloped square cookie cutter
Paint pallete
Tweezers
Edible glue (optional)
Poppy Paint
SECTIONING OUT THE CAKE DOUGH
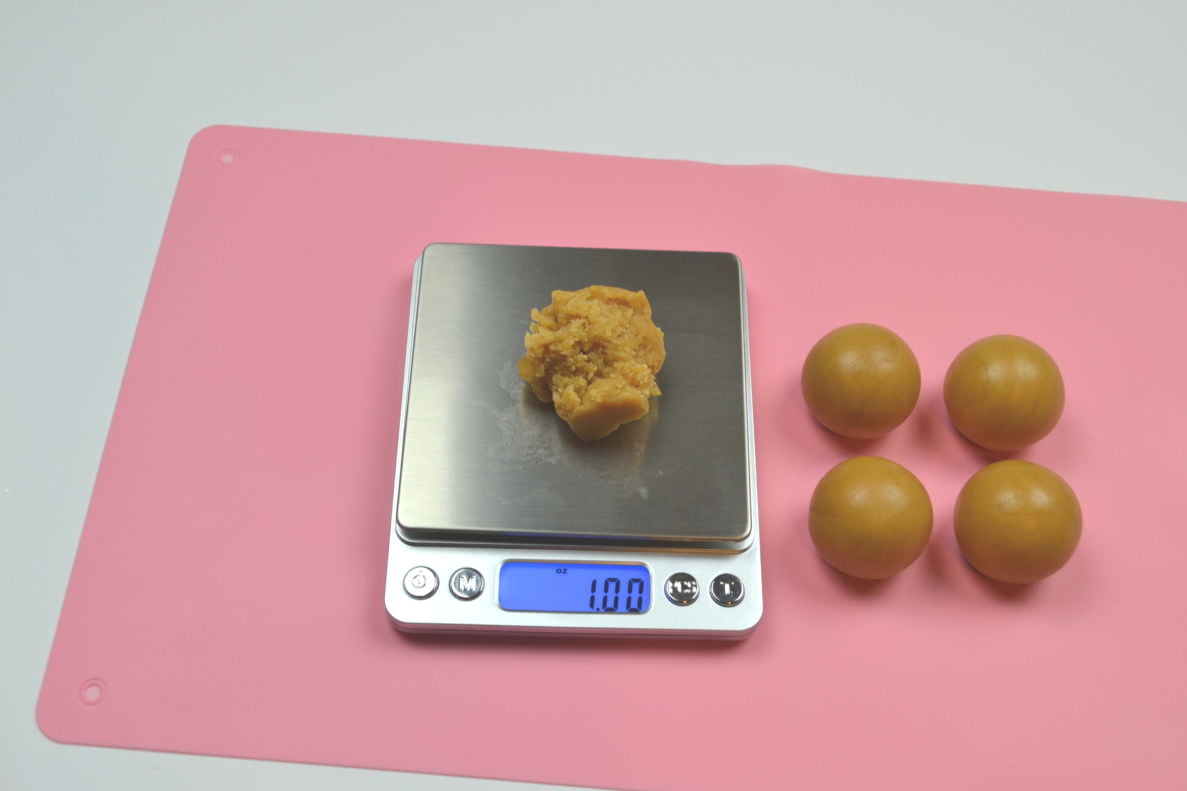
Begin by weighing out portions of cake dough for cake pops. A standard cake pop should weigh 1oz. Roll each 1oz portion into a ball using the palms of your hands.
Watch the video tutorial for my cake dough recipe here. Recipe is in video description.
SHAPING THE POPS
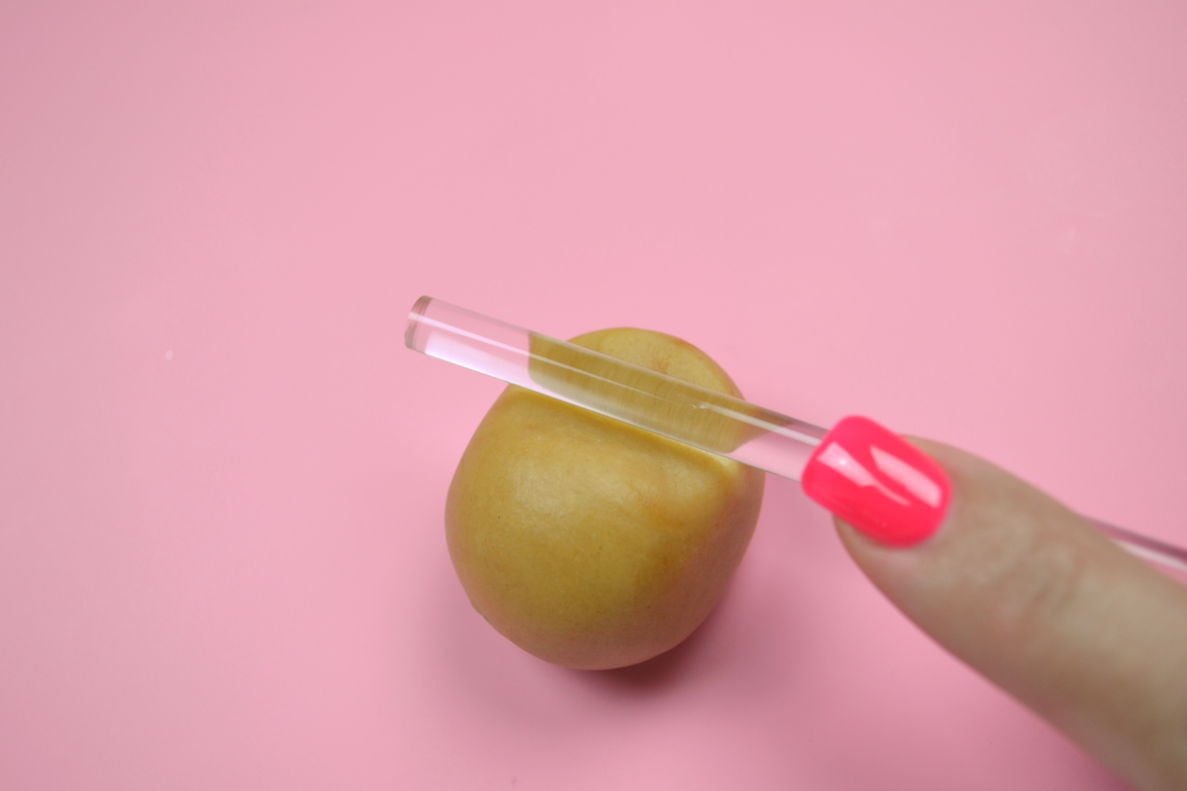
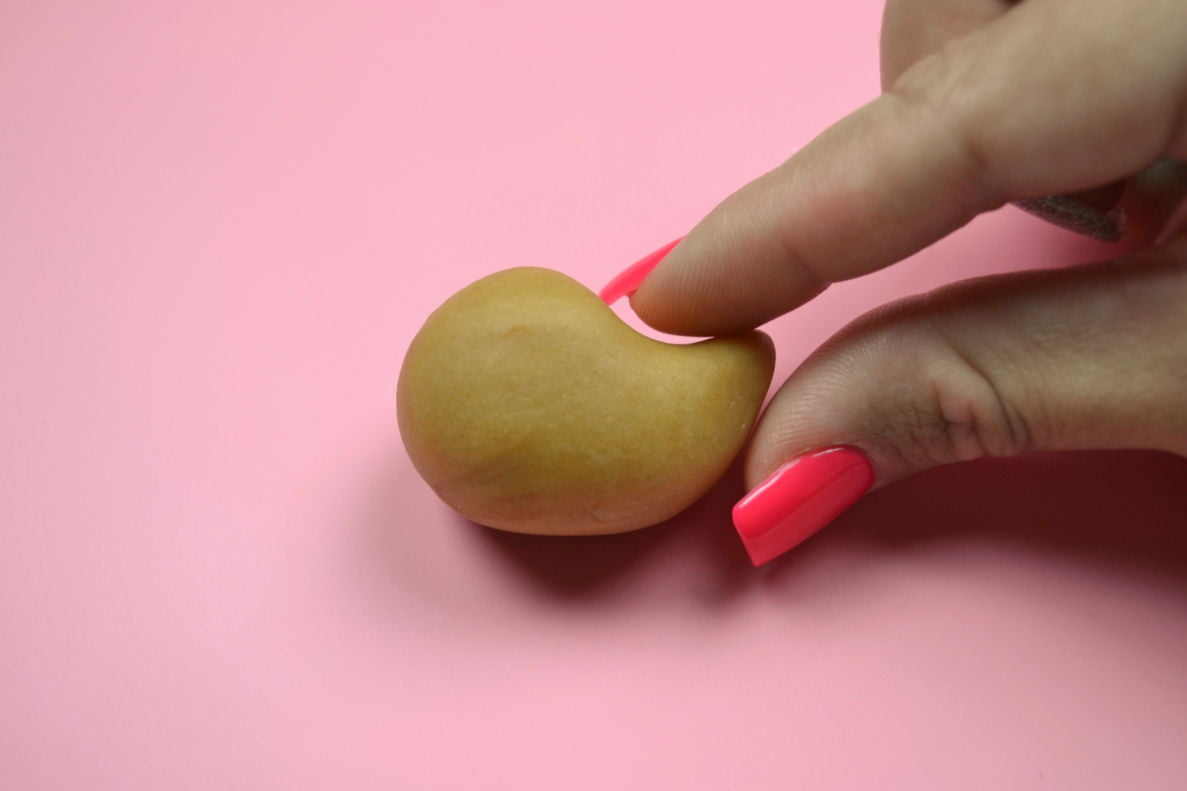
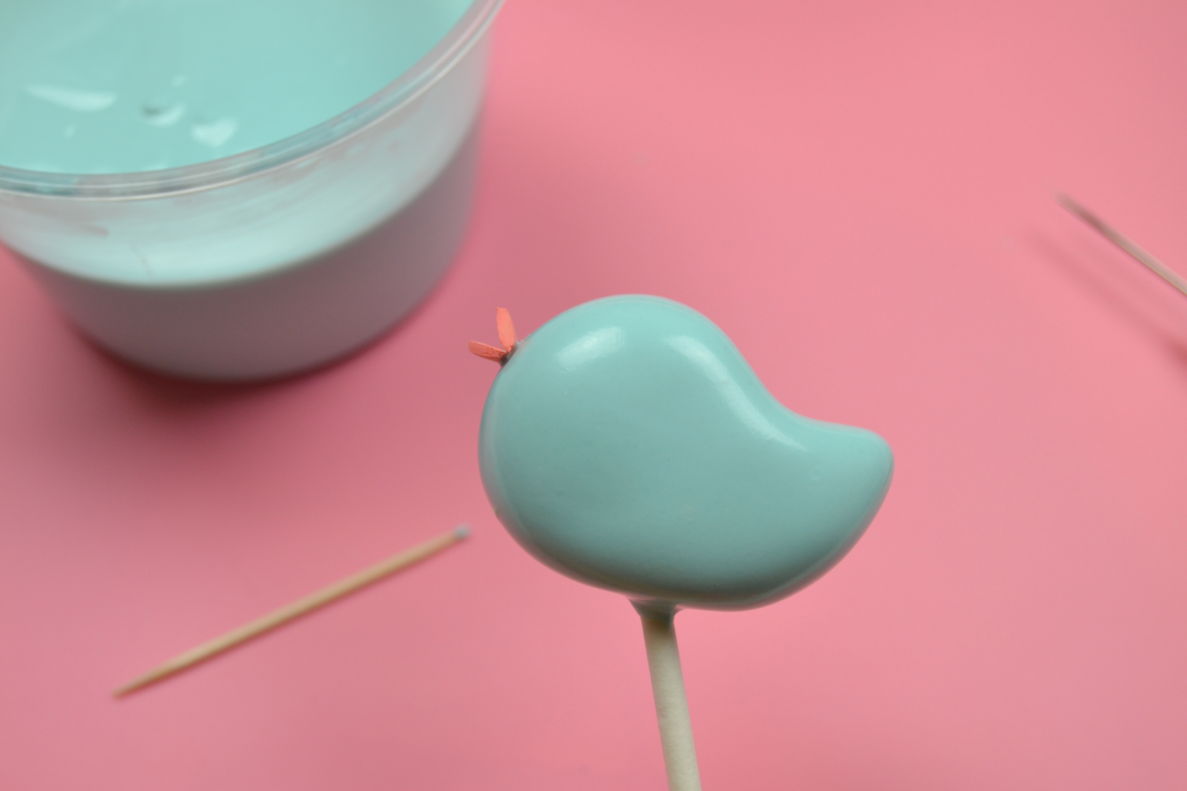
Use a cake pop stick to shape the bird’s body. With the stick, push down into the dough and roll away from you at the same time to achieve the shape in the image.
Pinch with your fingers to form a more defined point for the bird’s tail.
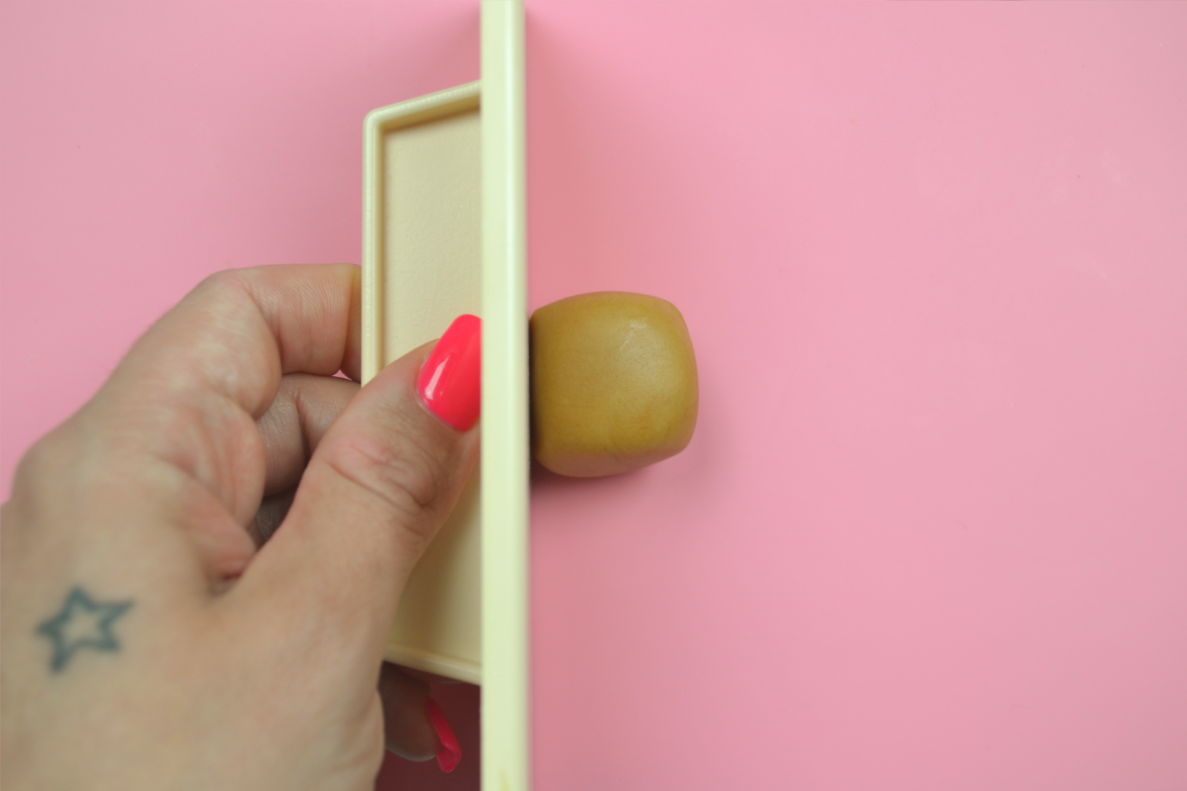
Flatten a cake ball down on 6 sides, aiming to form a cube. Using a fondant smoother will help to get the sides to be perfectly flat. Don’t worry about making each house identical. Play around with different sizes and shapes – some square, some rectangular, etc. I made one tall and skinny and one square.
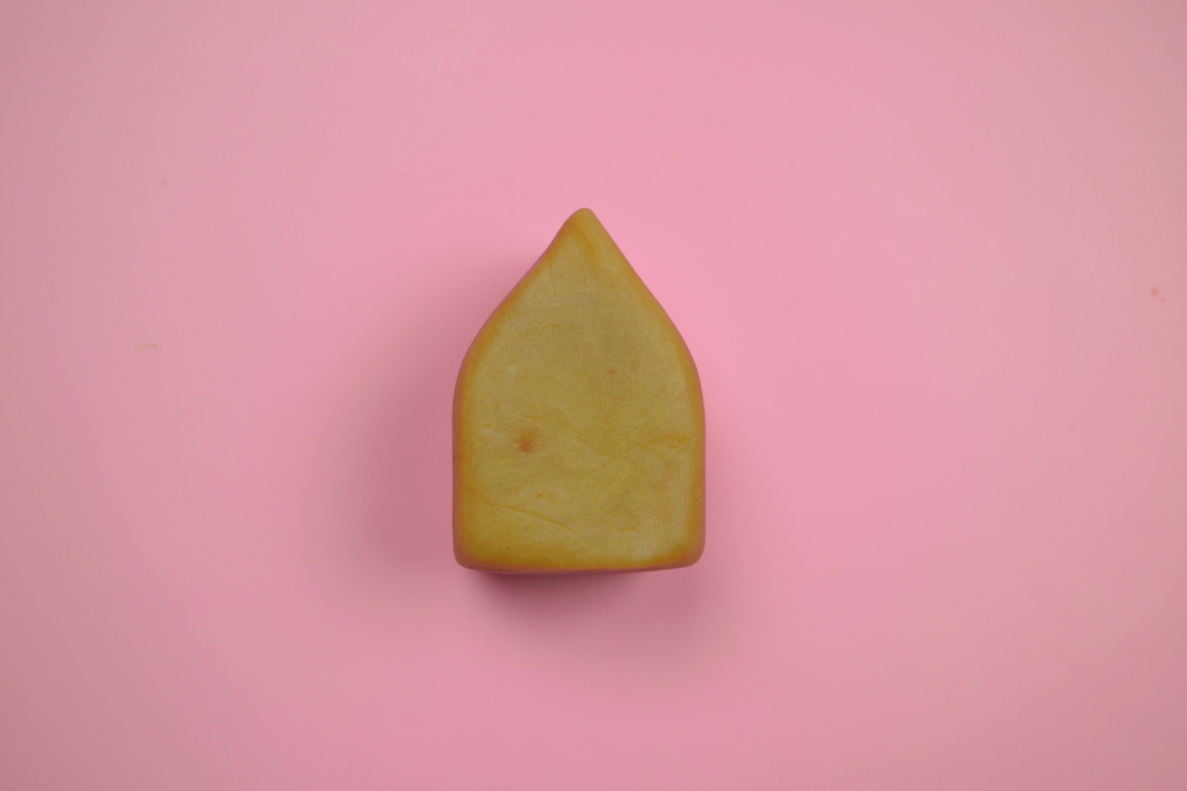
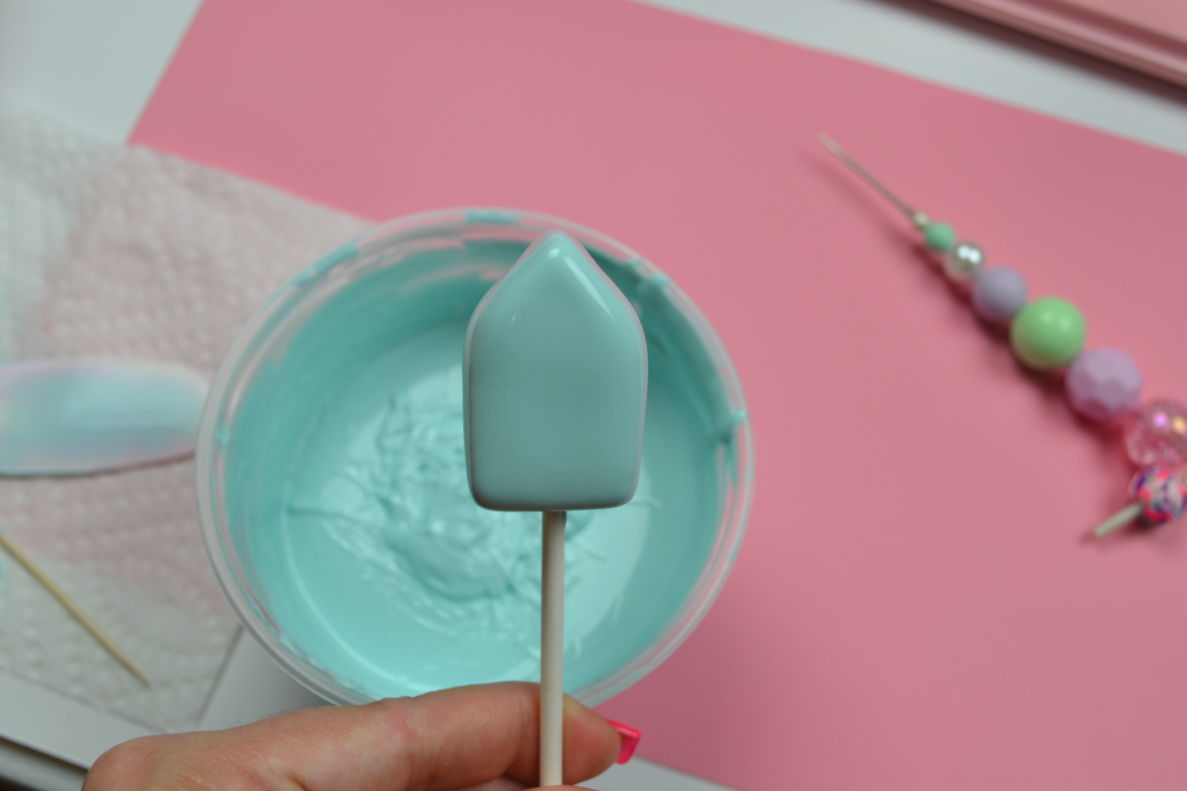
Once you have a nice cube shape, use 2 fondant smoothers to shape the top. Slowly press the top into a triangle shape until your fondant smoothers are touching together like a peak.
PREPARING THE MELTS
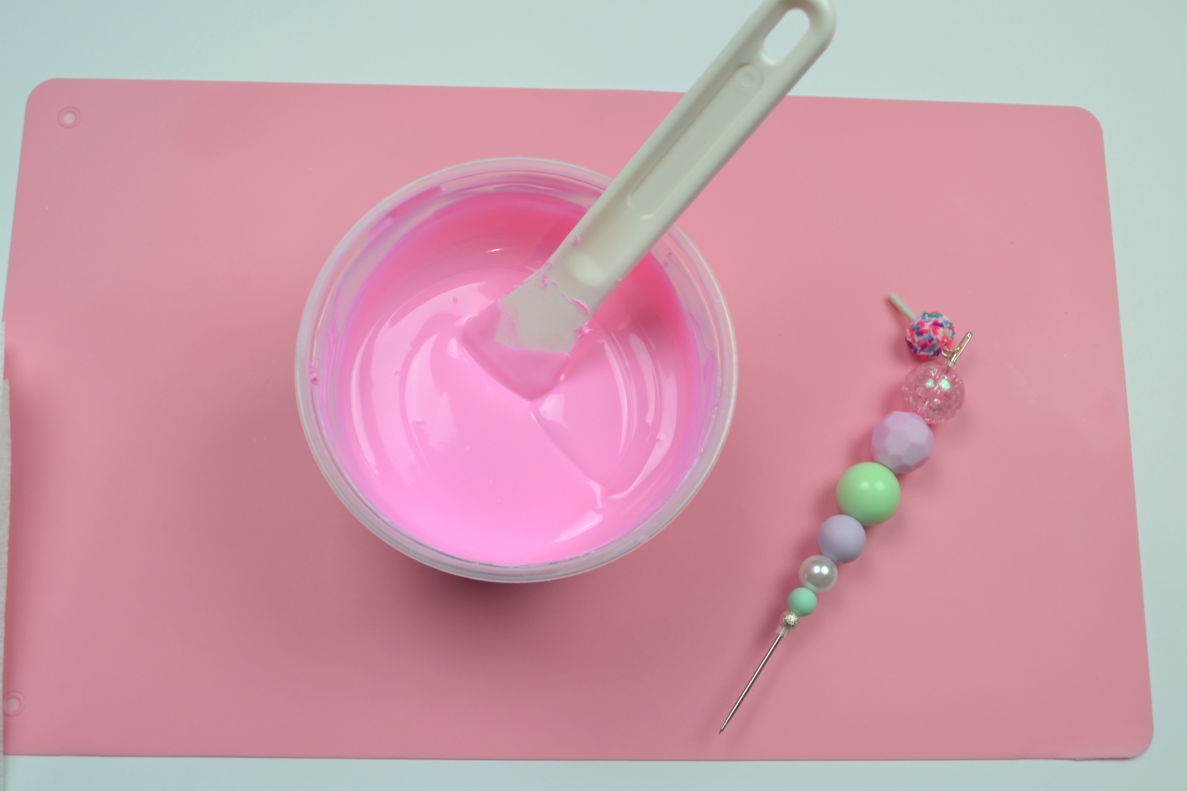
Melt your candy melts according to the package in a microwavable cup or bowl. Add candy color to your candy melts once entirely melted, if needed. I added Pink and Teal Chocolate Chameleon colors to Super White Merckens to get the two colors used in this tutorial, but just prepare one color for now. Feel free to use any colors you like.
DIPPING THE POPS
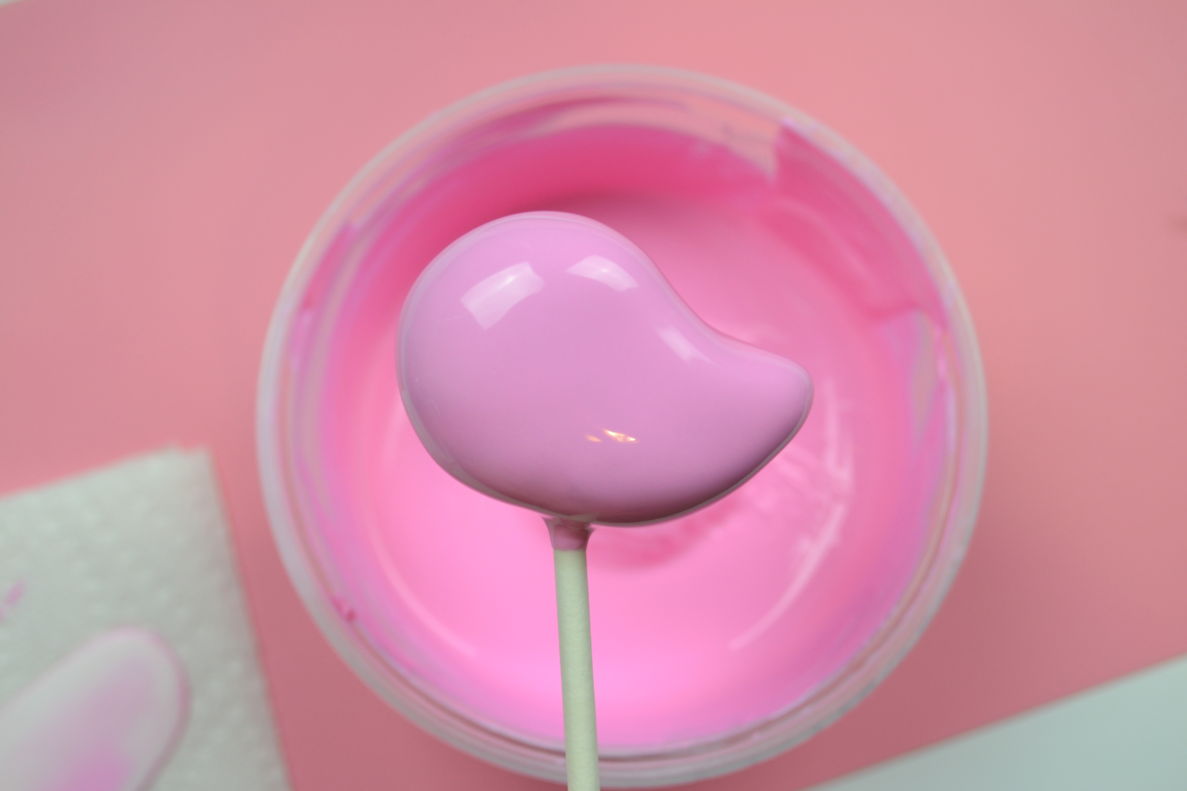
Dip the tip of a cake pop stick into the candy melts, and immediately insert that end into your molded cake dough to create your cake pop. Let the candy melts adhere to the dough for a couple minutes. Once adhered, dip the pop into the candy melt. Gently tap off any excess melts by holding the pop in one hand while gently and rapidly tapping that wrist with your other hand. Use a scribe or toothpick to pop any bubbles in the coating. Set dipped pop aside in a cake pop stand to dry. Repeat for any house or bird pops you would like in this color. Repeat this procedure to make other colors of candy melts and dip your remaining pops.
MAKING GUMPASTE ACCENTS
Measure the top of your cake pop houses to determine how large the gumpaste roofs need to be. Roll out a thin sheet of gumpaste, large enough to make as many roofs as needed, with a little extra for the beaks. Perform the next steps quickly, as gumpaste can dry rather fast.
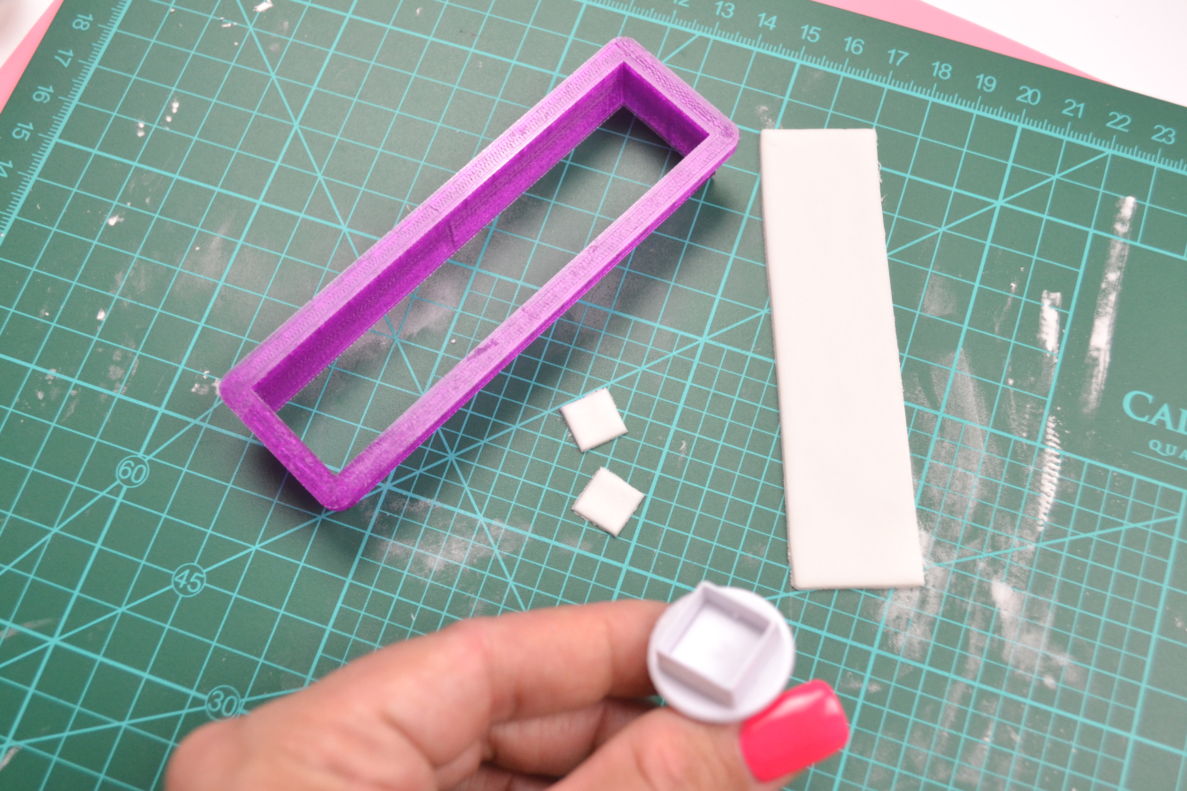
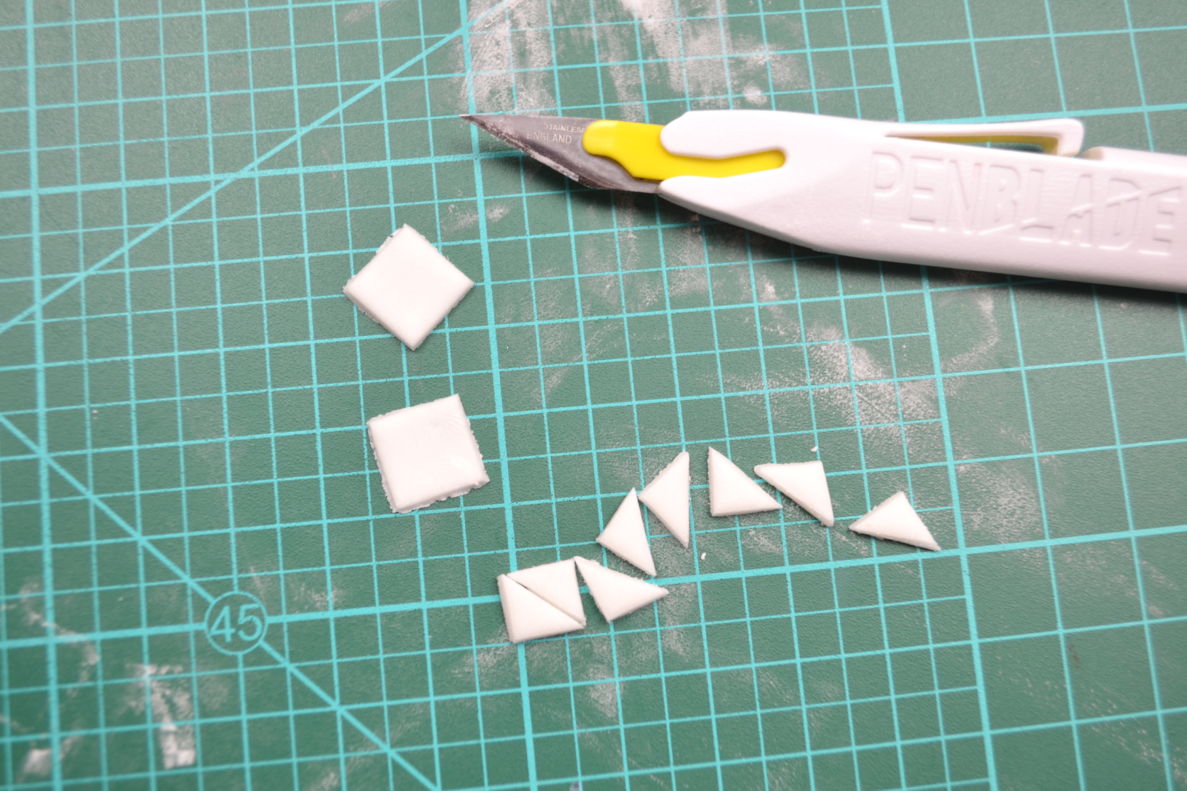
Use the small square punch to cut out squares which will later be cut into your bird beaks. Cut 1 square for each bird pop you are making. Set aside and cover with plastic wrap to reduce drying.
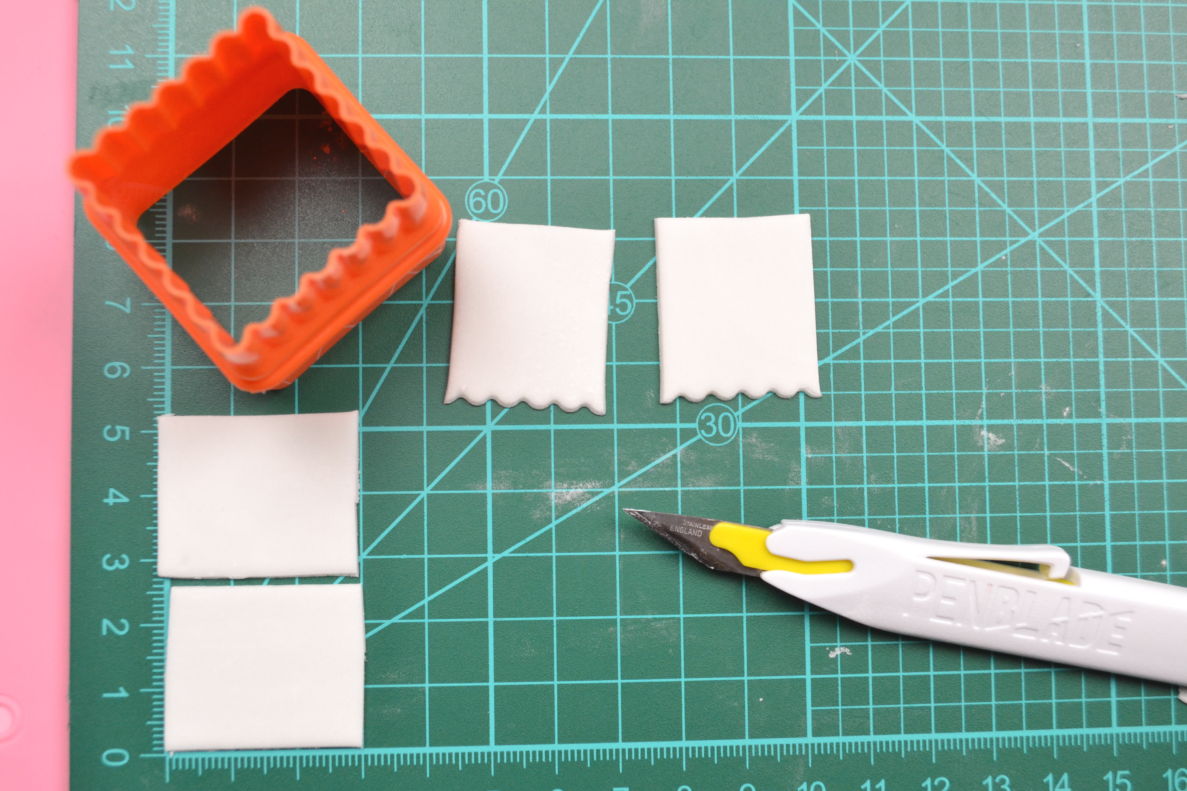
Cut the gumpaste roof pieces. Using a square or rectangular cookie cutter can be useful to get the square edges. I used a rectangular cookie cutter to cut the width, then cut the length with a penblade using my cutting board to measure each piece evenly.
When the roof pieces are cut, use a scalloped cookie cutter to give each piece a single scalloped edge.
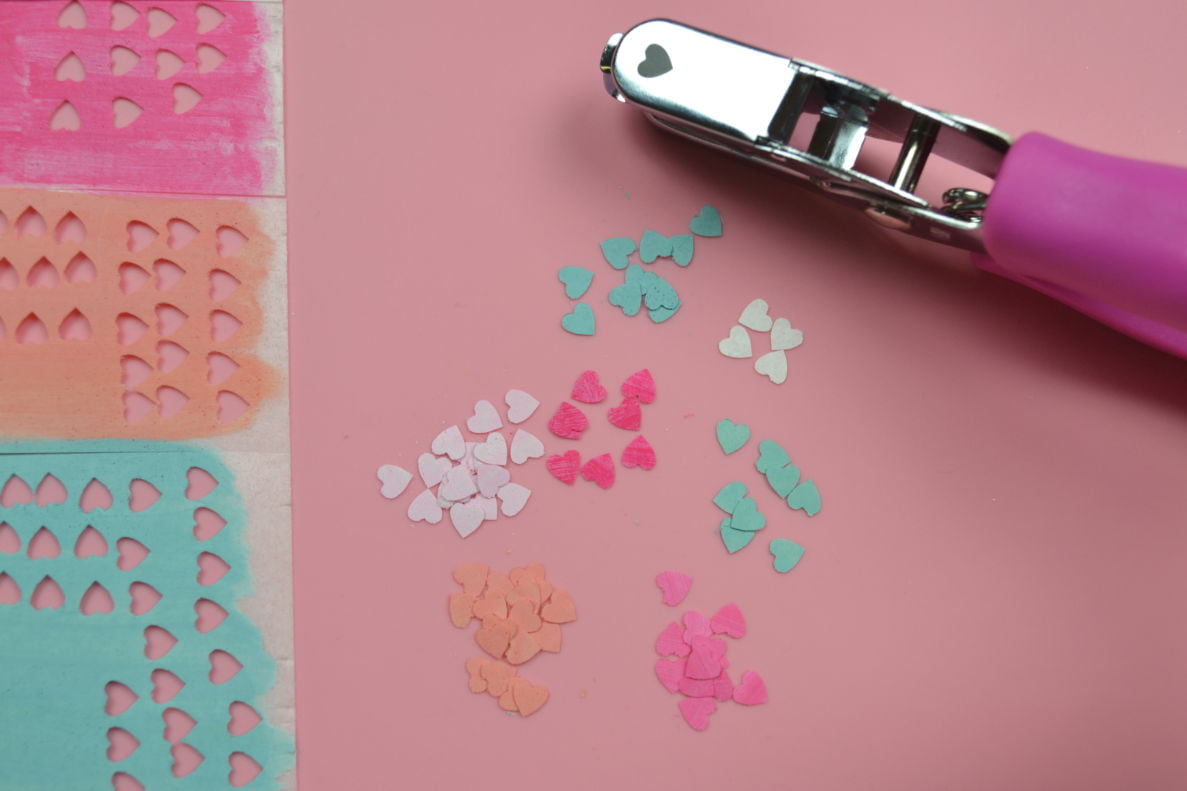
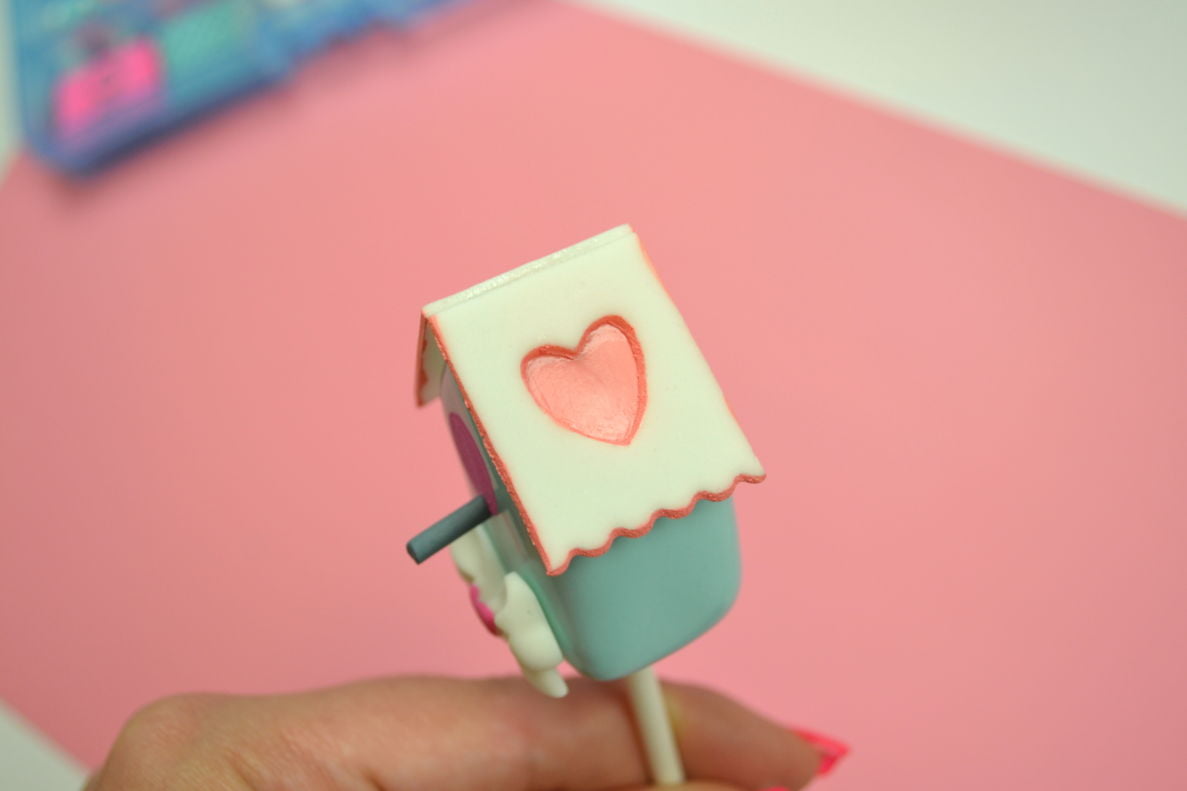
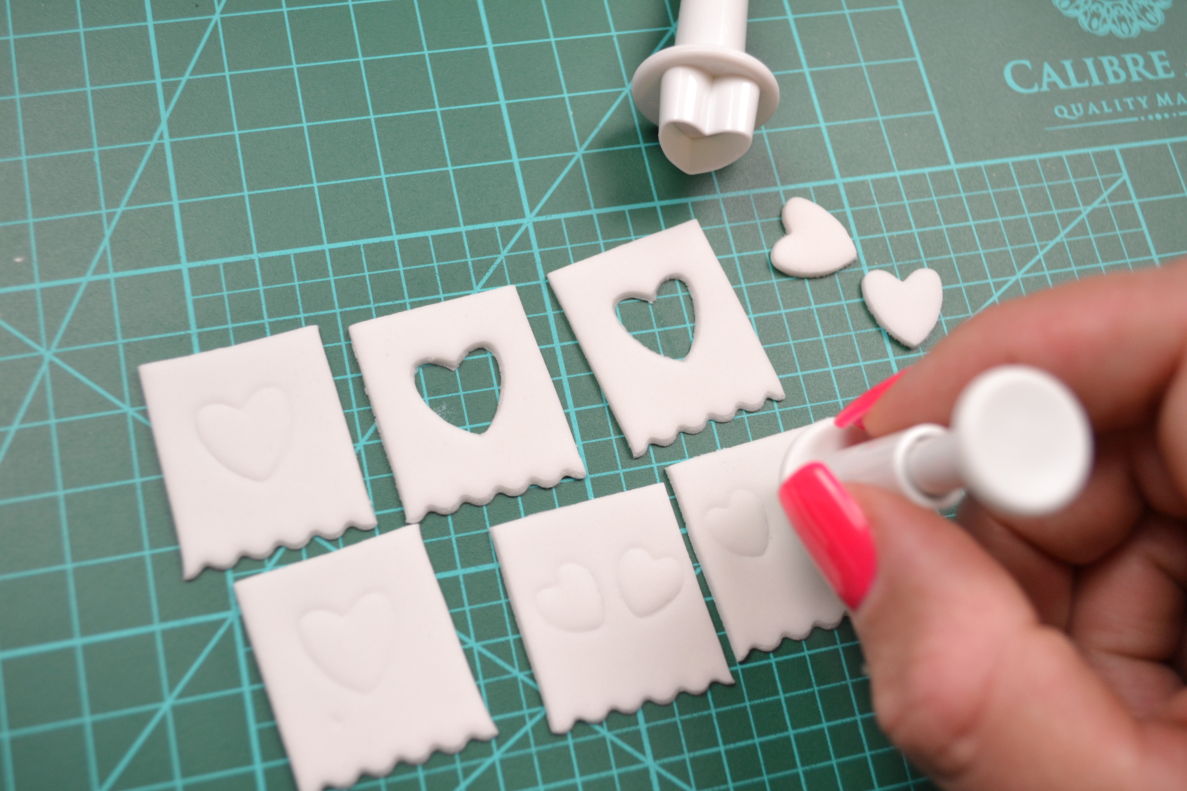
Using a heart punch, press down gently on the center of each roof piece – just enough to leave an imprint of the heart. This imprint will later be used as a guide for painting the heart. You could also cut a heart shaped hole in the roof top to get a different look for your roof.
PAINTING ACCENTS
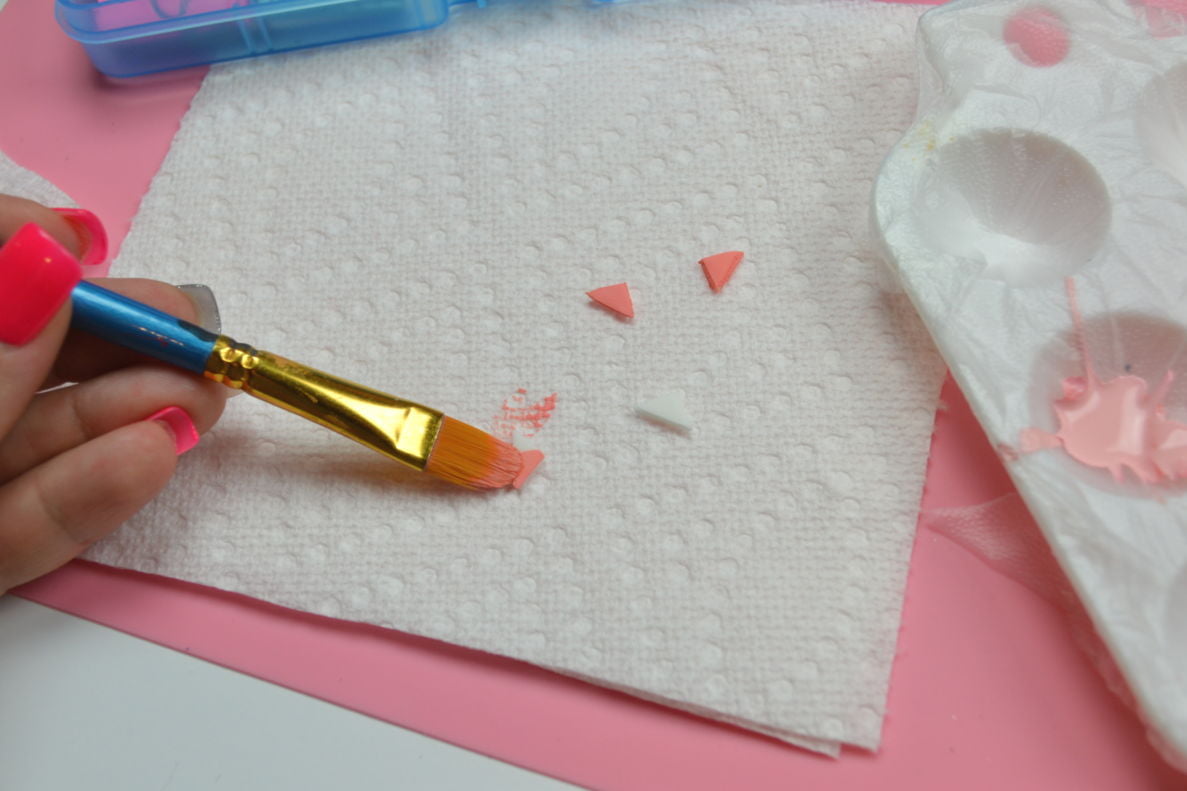
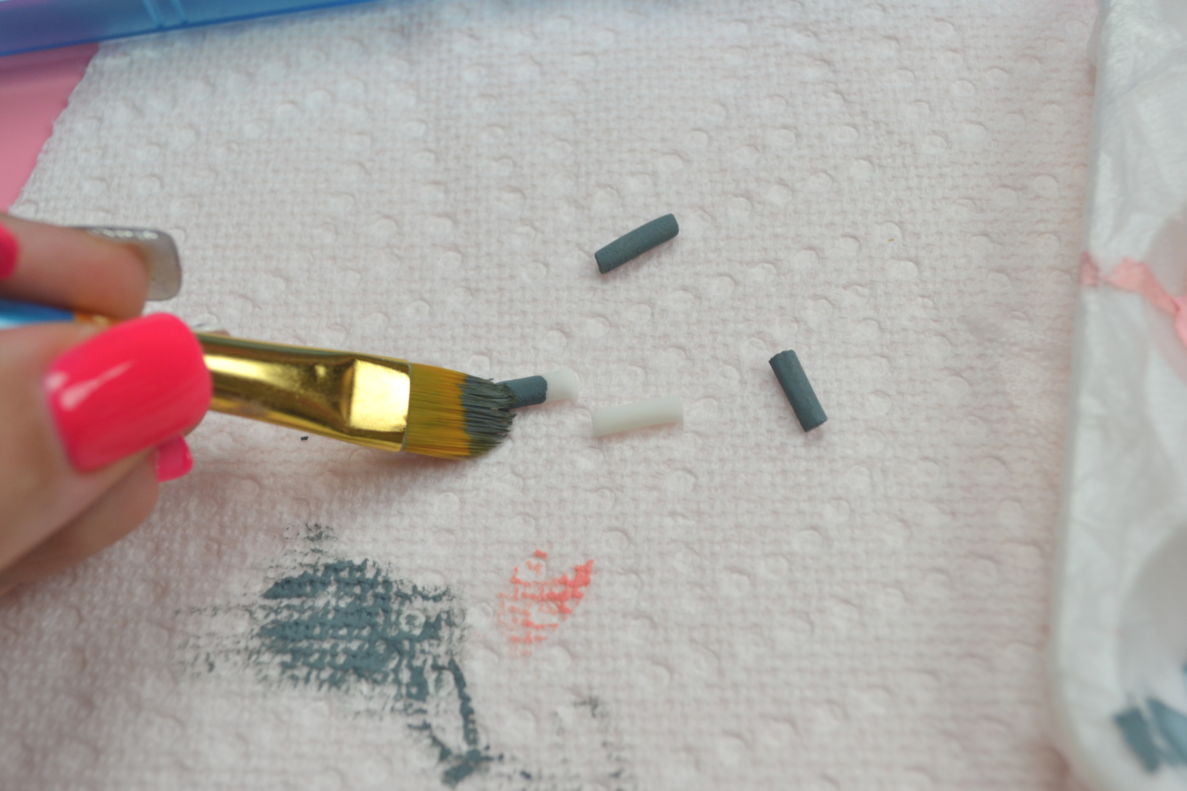
Use Peach Poppy Paint to paint your beaks. Follow the instructions for Poppy Paint on the instruction card that came with your box set. Paint both sides and all edges, allowing each side to dry before painting the other.
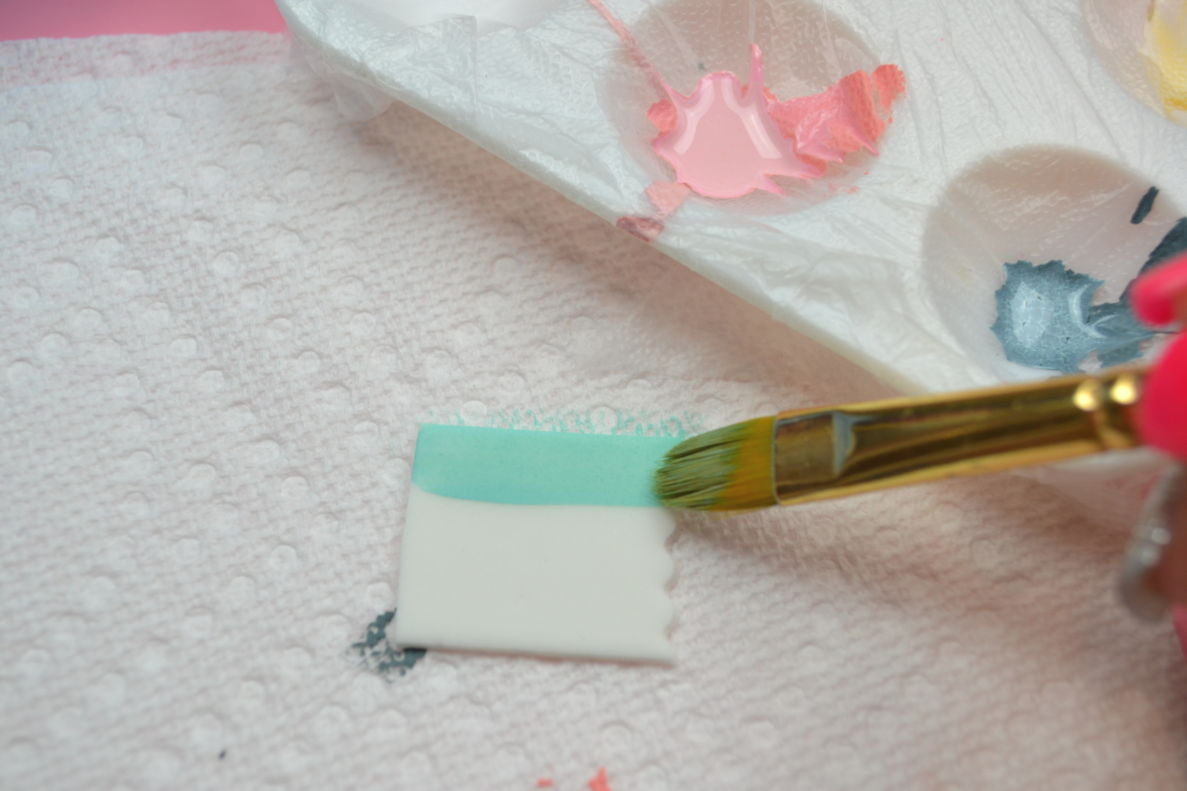
Use a wide flat tip brush and long even strokes to paint the roof tops. Paint both sides and all edges, allowing each side to dry before painting the other.
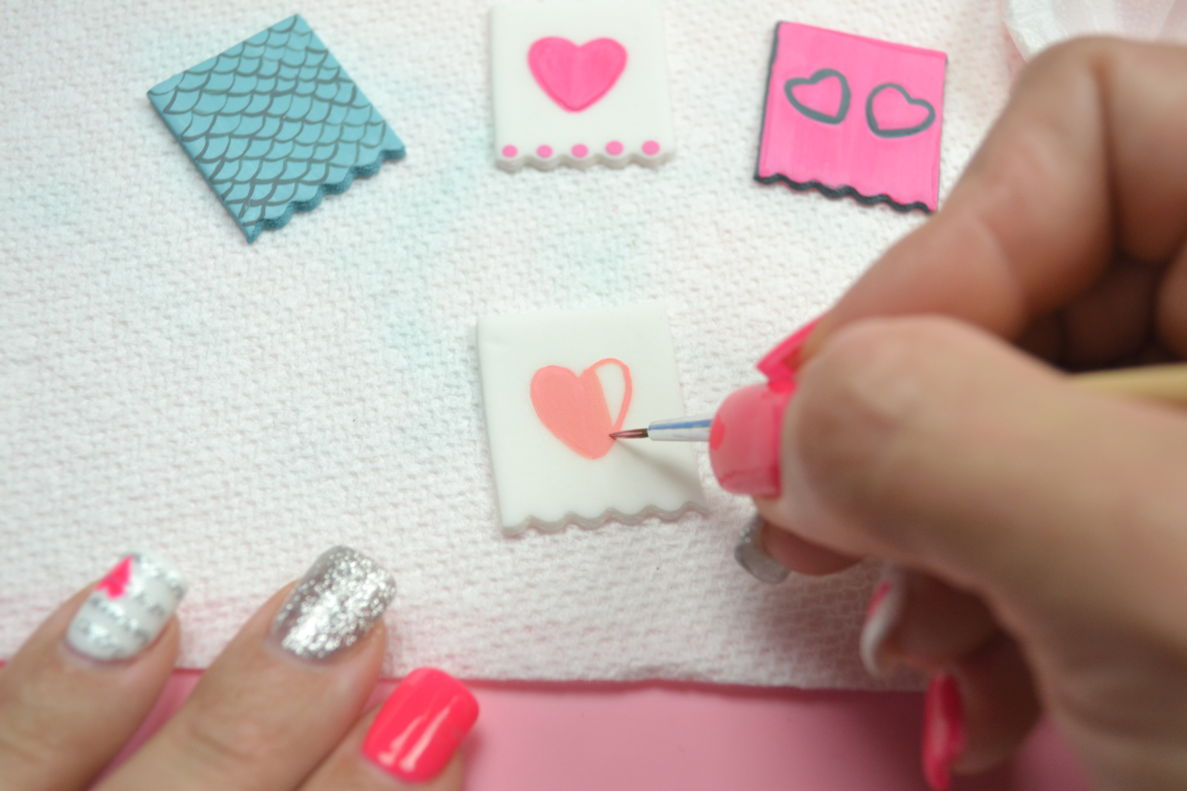
Trace the heart imprint on the roof pieces using Poppy Paint with a fine tip brush. You can paint the inside of the heart or leave it as just the outline.
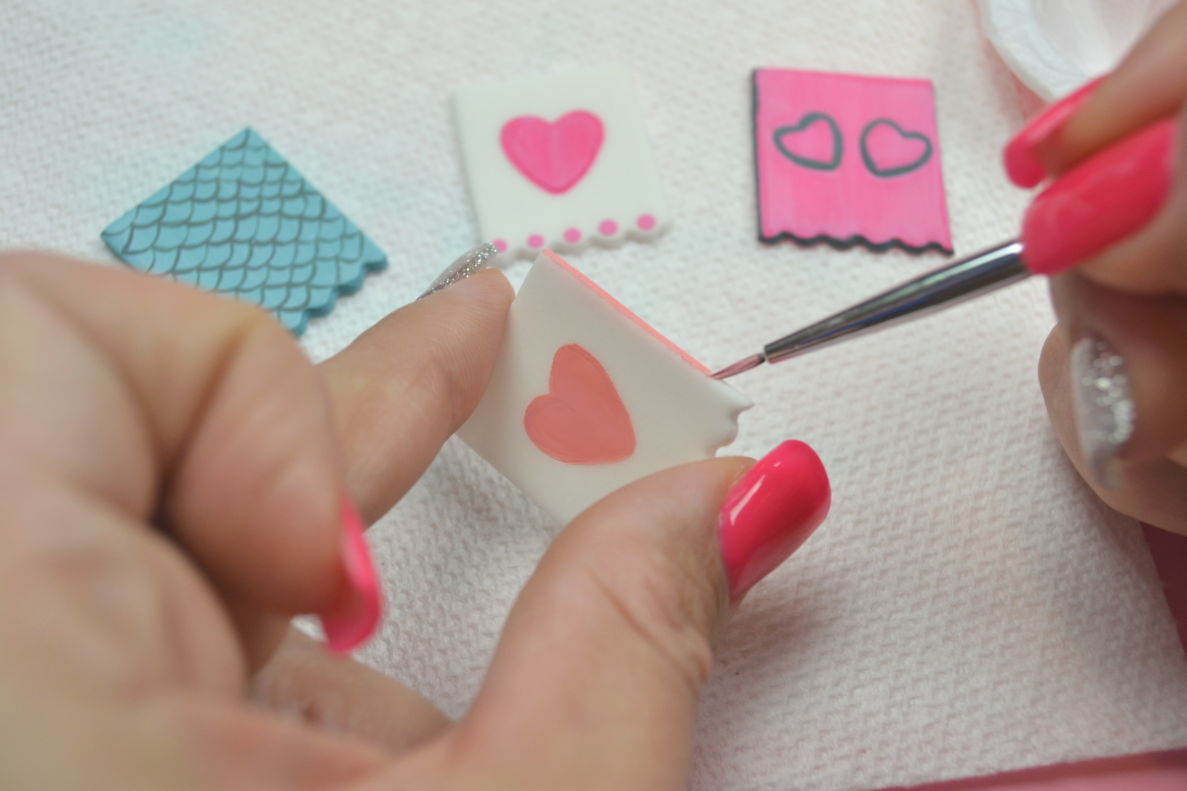
Paint around the edges of the roof top for more color and detail.
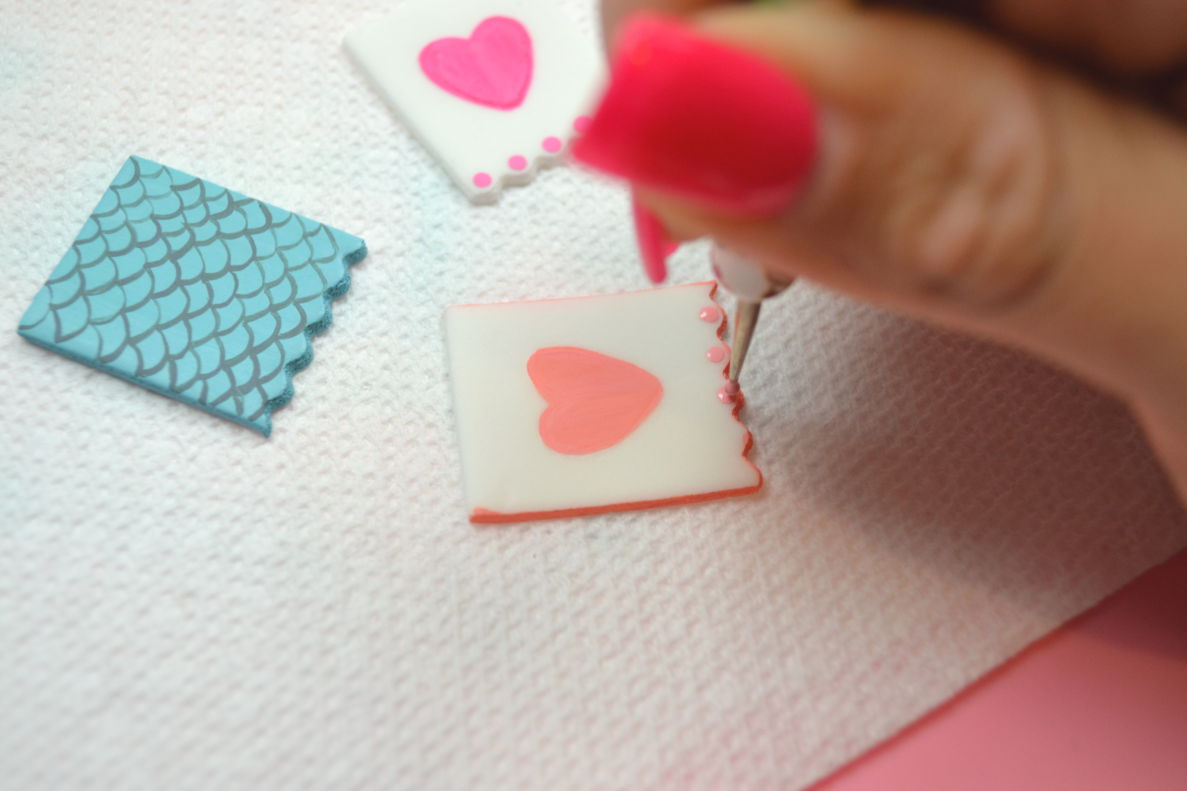
Add small Poppy Paint dots to the scalloped roof edges using a small ball tip tool. Dip the tool’s end into Poppy Paint and gently touch the surface of the gumpaste, making sure to hold the ball tip tool upright and not at an angle.
ATTACHING THE ACCENTS AND ADDING FINAL TOUCHES
Apply your beaks and roof tops using candy melts, or an edible glue if preferred – I prefer candy melts. Apply the adhesive to the cake pops using a toothpick, then attach the pieces one at a time and hold in place until dry. (This won’t take very long for candy melts to adhere).
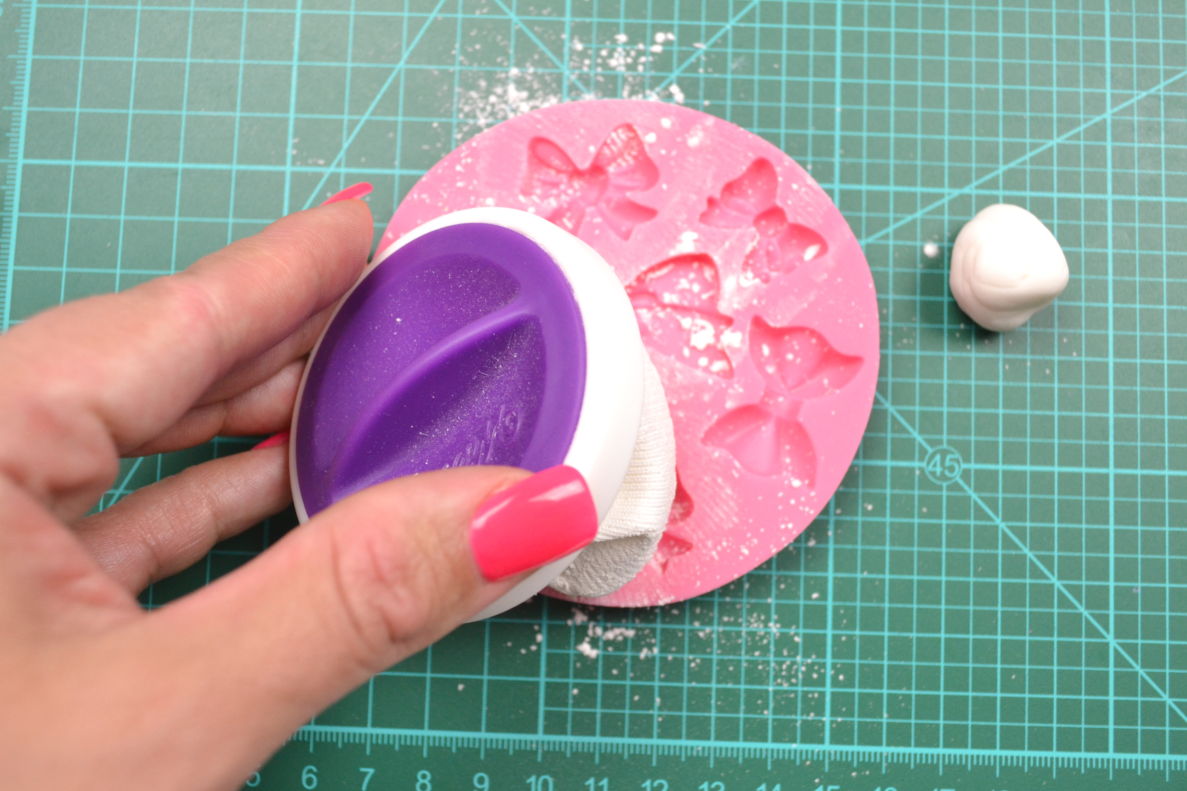
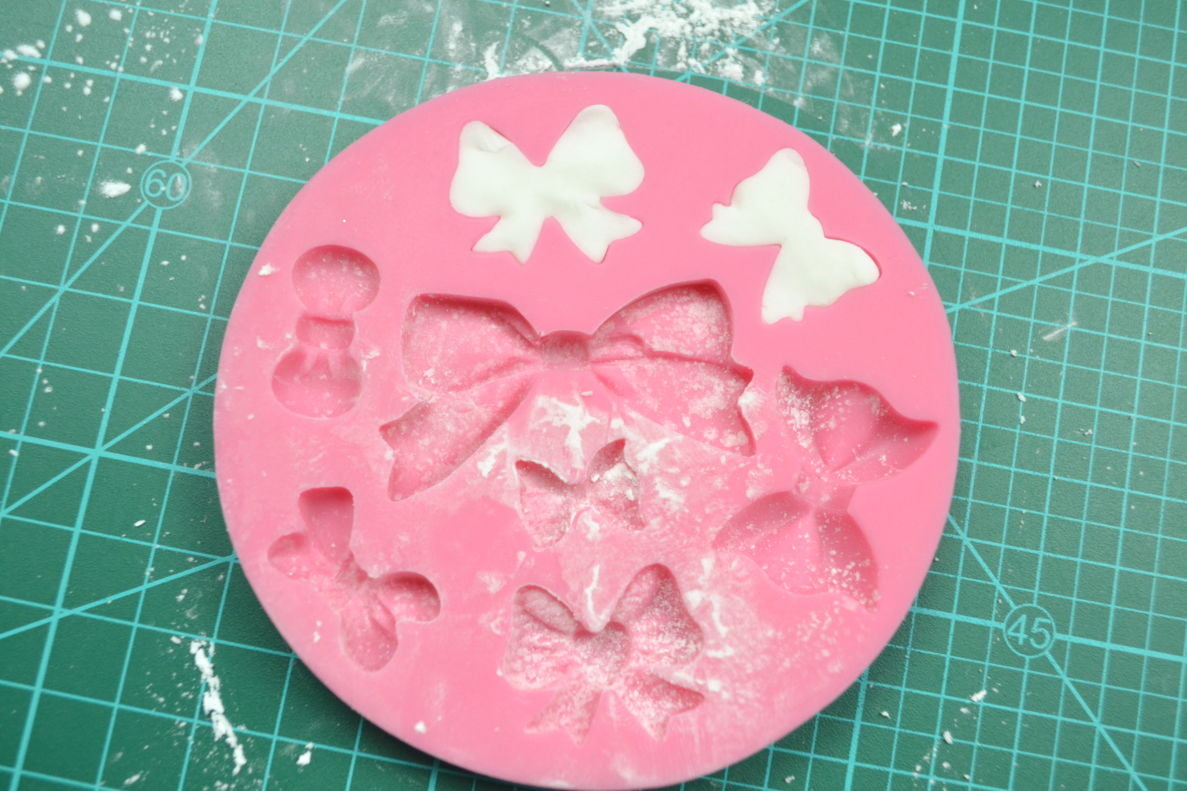
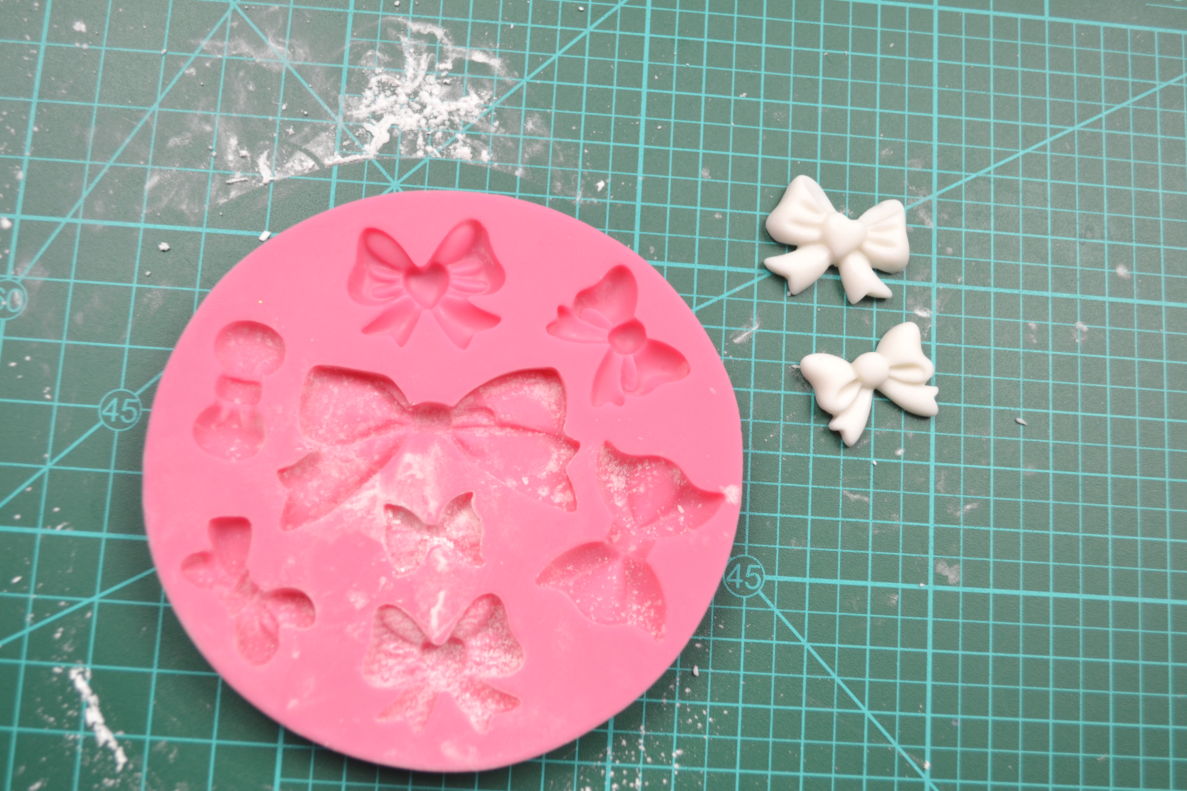
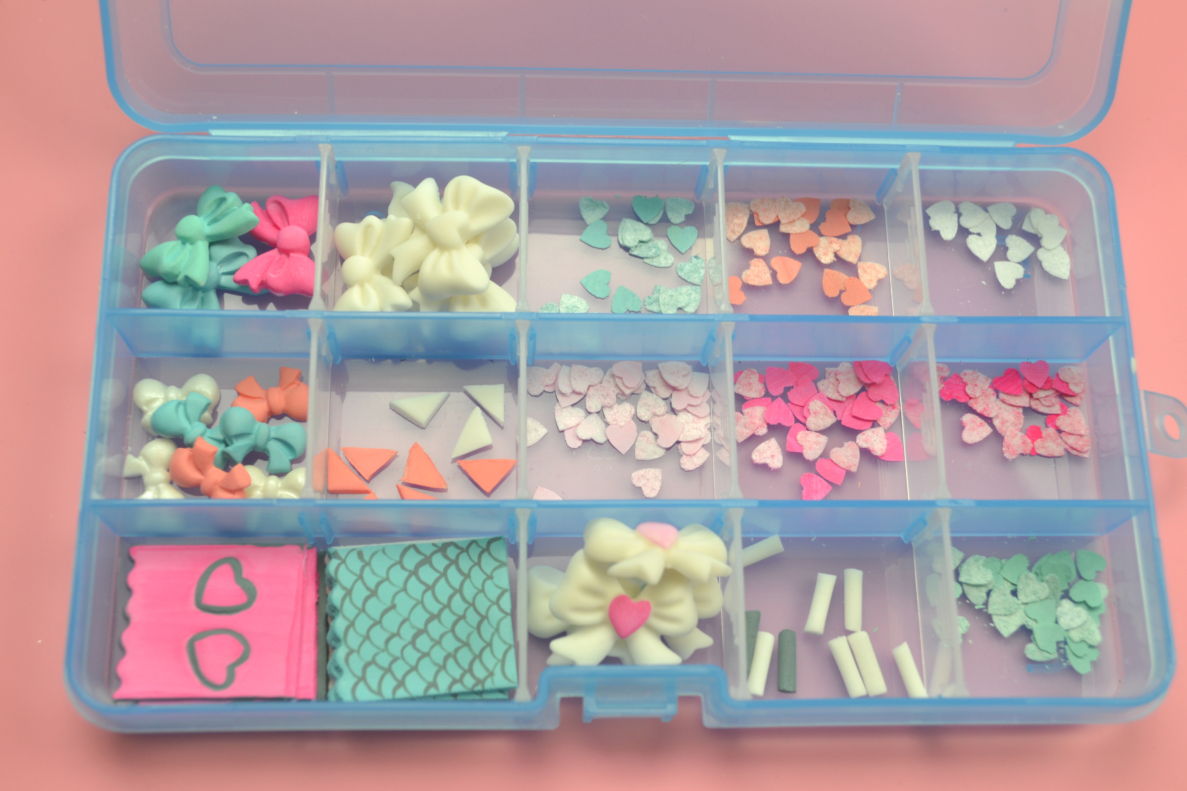
(NOTE: I like to create a “prep box” for when I do projects like this. Since the fondant and gumpaste will harden and not spoil, we can make them ahead of time. As you can see, I made several roof tops, bows, hearts, etc. This way, I am not overwhelmed when it comes time to assemble it all. I just have to “glue” the pieces together.)
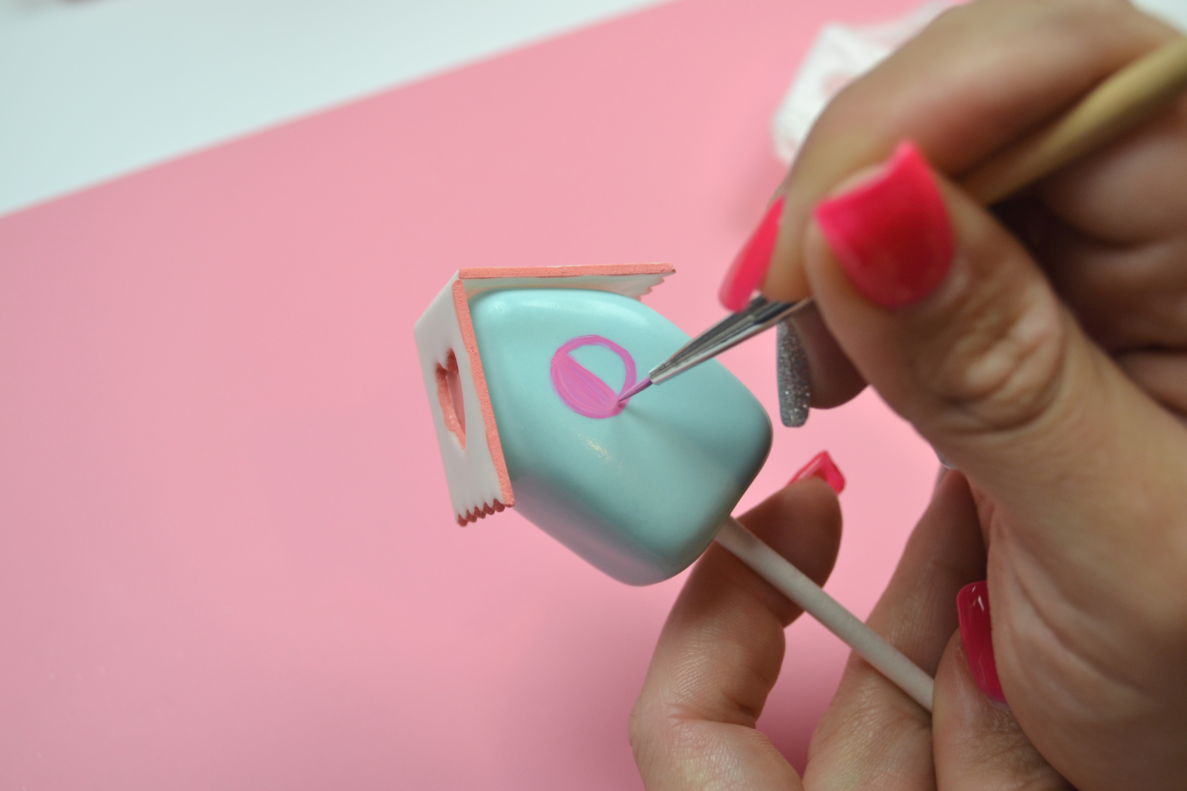
Paint the hole on the birdhouses with a fine tip brush. Paint a circle outline first and then fill it in using even strokes.
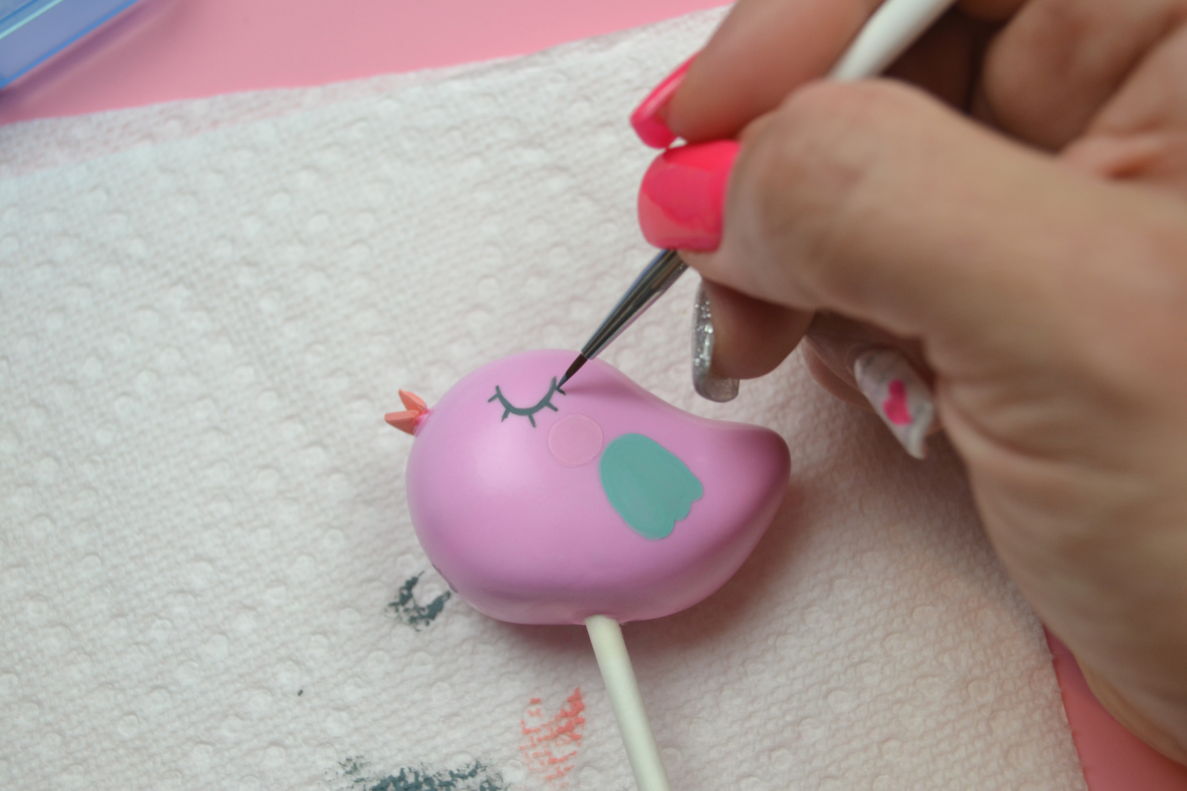
Paint your bird starting with the eyes. Use a fine tip brush and Gray Poppy Paint to create a U shape and then paint eyelashes on it. Paint the cheeks using Blush Poppy Paint in the same way as we painted the hole. The wings can be any color you choose – I chose Seafoam for one and Peach for the other. Use a fine tip brush to first paint the outline of the wing, and then fill with even brush strokes.
Now that all the painting is done, we can attach the last few details.
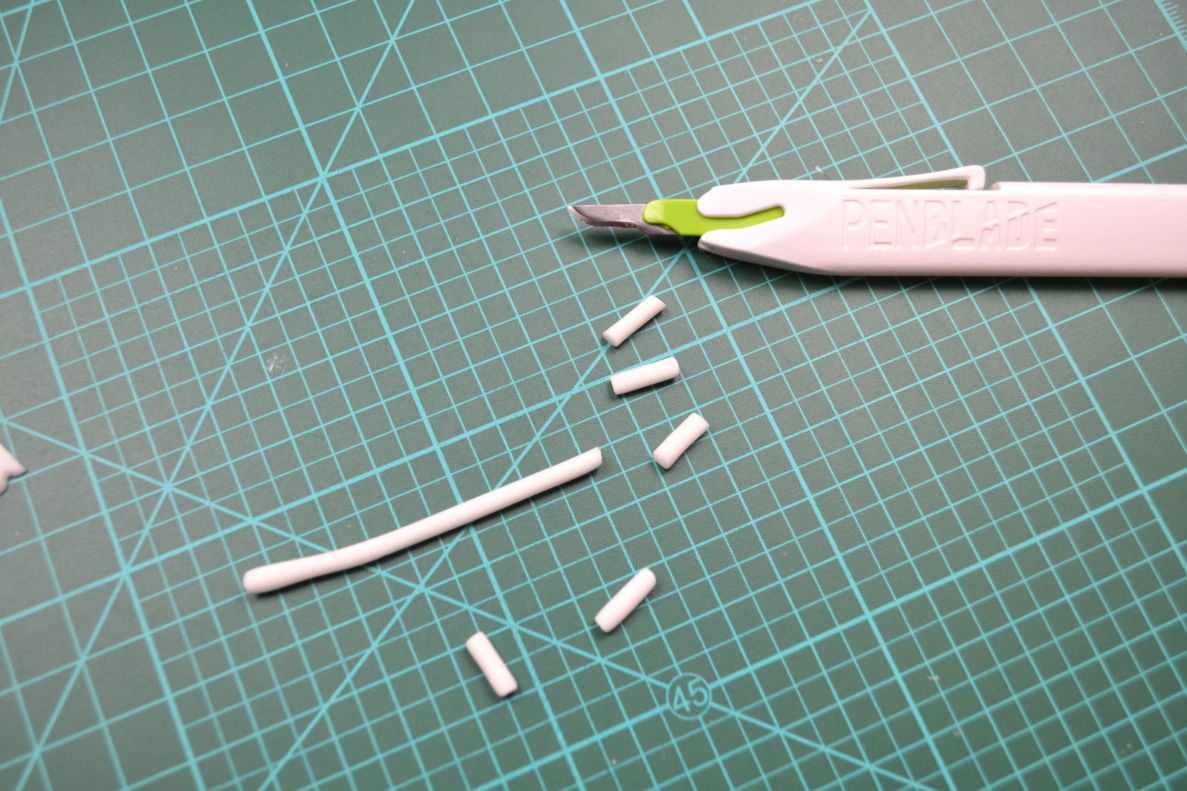
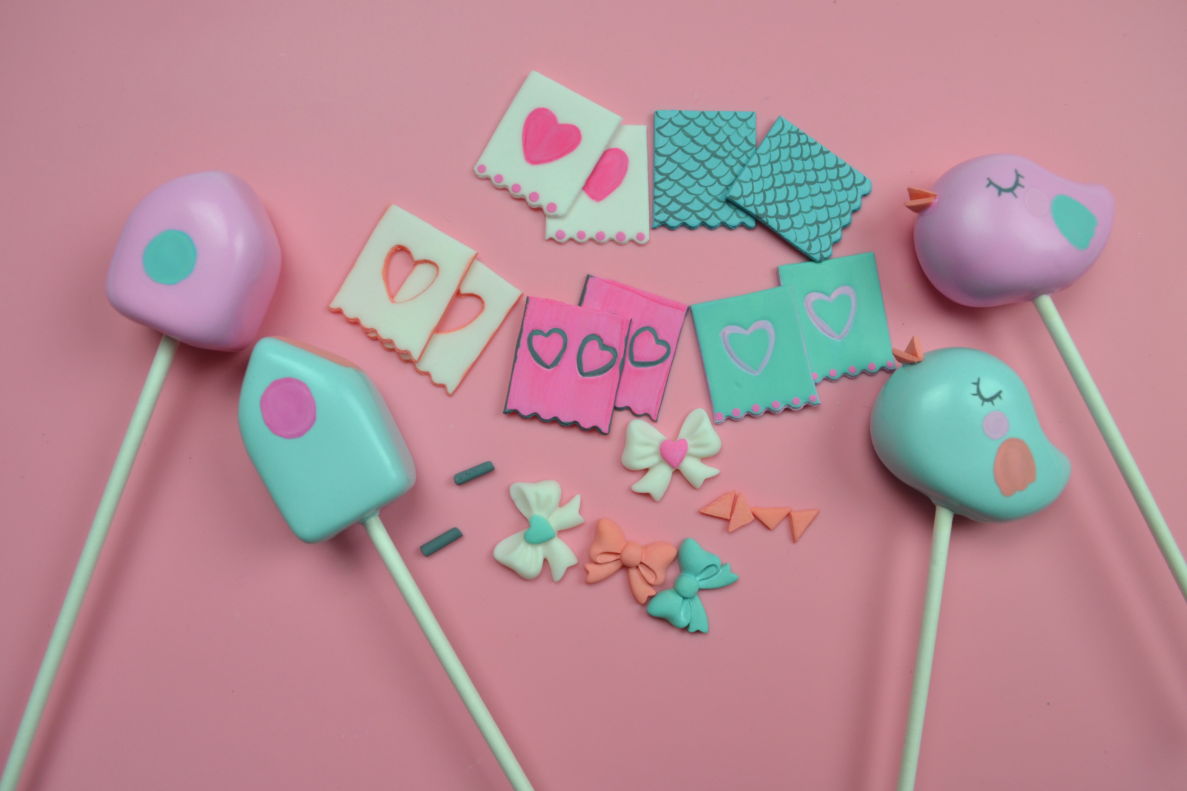
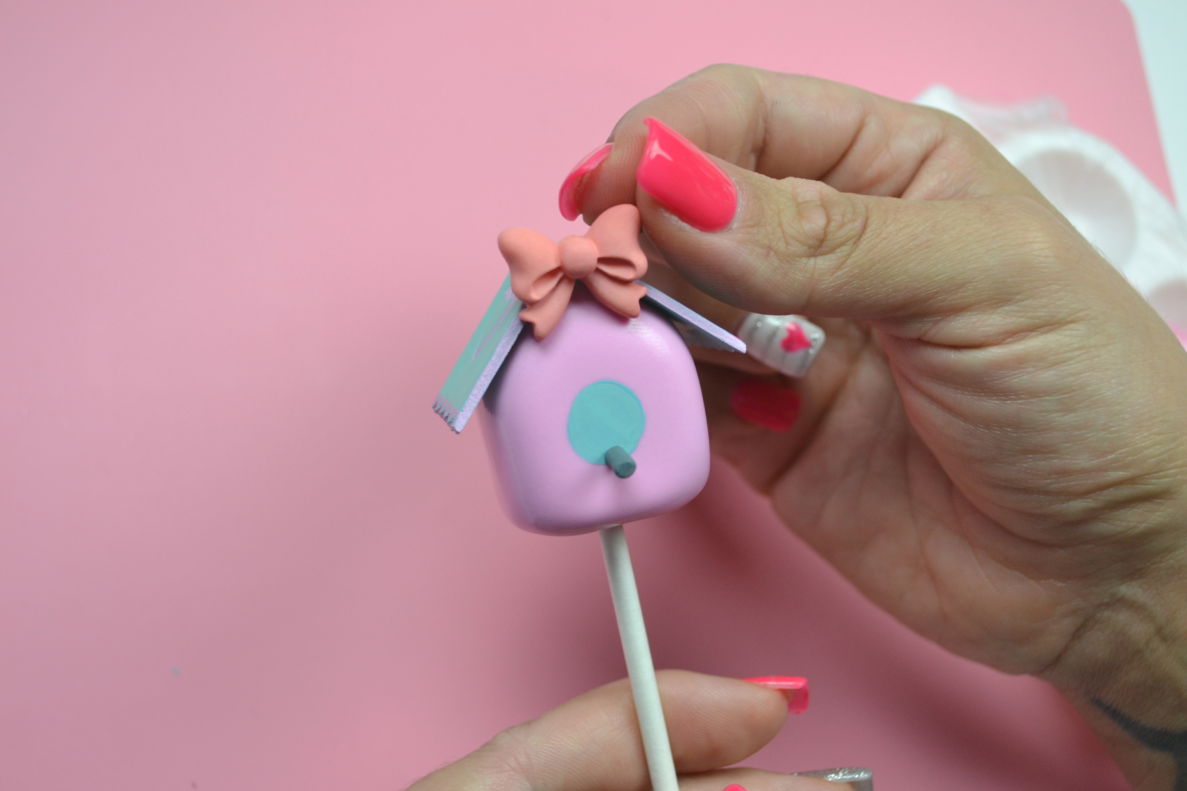
Attach the perches in the same way as you did your beaks and roof tops. Then, attach your bows on either the top or bottom of your houses.
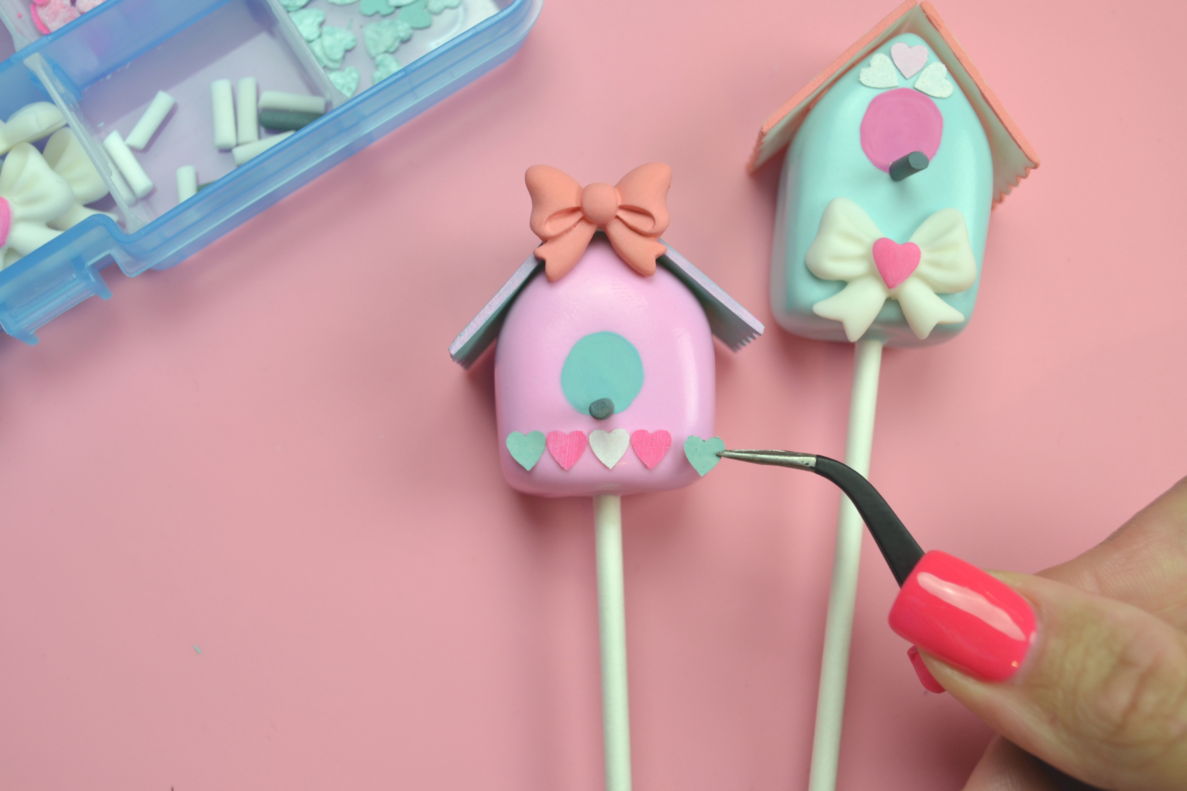
Attach the wafer paper hearts wherever you’d like. I chose to use edible glue to attach the wafer paper hearts – edible glue doesn’t dry as fast as candy melts, so it makes it easier to adjust the hearts as needed.
Lastly, remember the roof top that I cut the heart shaped hole in? I ended up painting Peach directly on the candy coated house on both sides before attaching the roof top; then, I finished it with a thin coat of Poppy Paint Super Shine. I just thought it was a fun and different look for this birdhouse.
